先补充一下在Porxmox下使用Cloud-Init制作CentOS7模板的过程,之前只弄了个Debian10的。
下载ISO镜像/创建虚拟机/虚拟机硬盘给5GB/添加Cloud-Init设备,这些步骤可以参考:
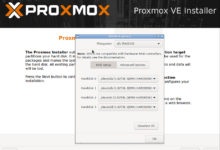
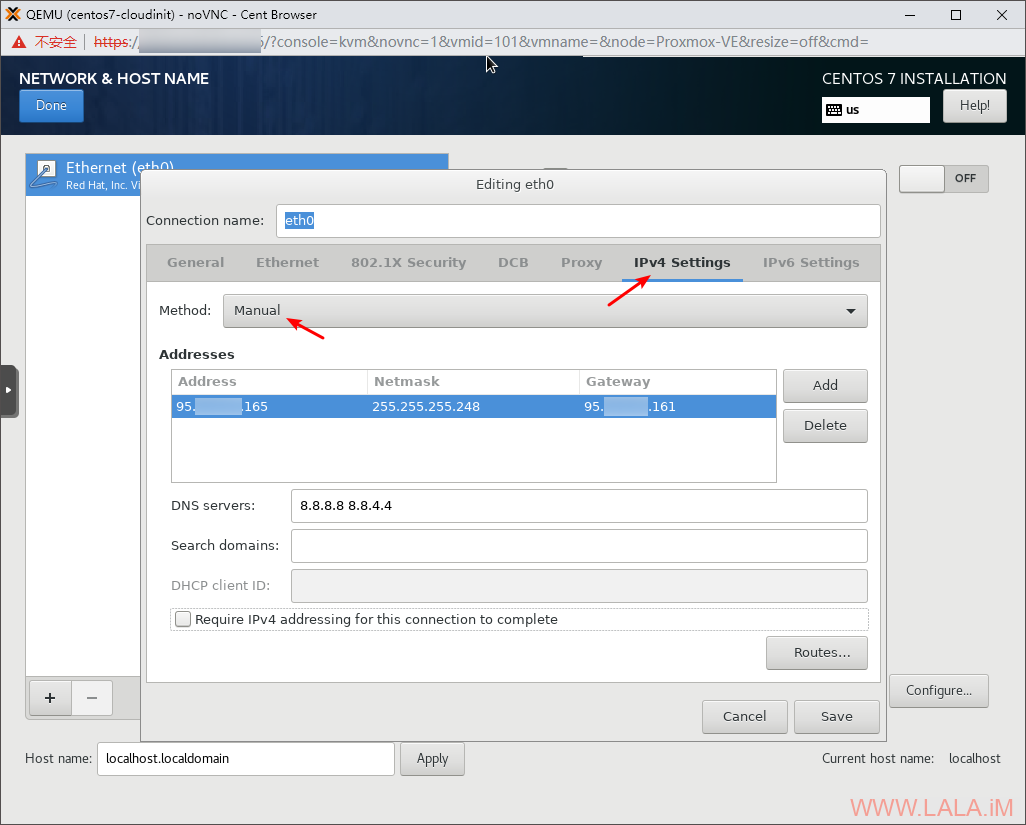
安装系统的时候网络选择手动配置:
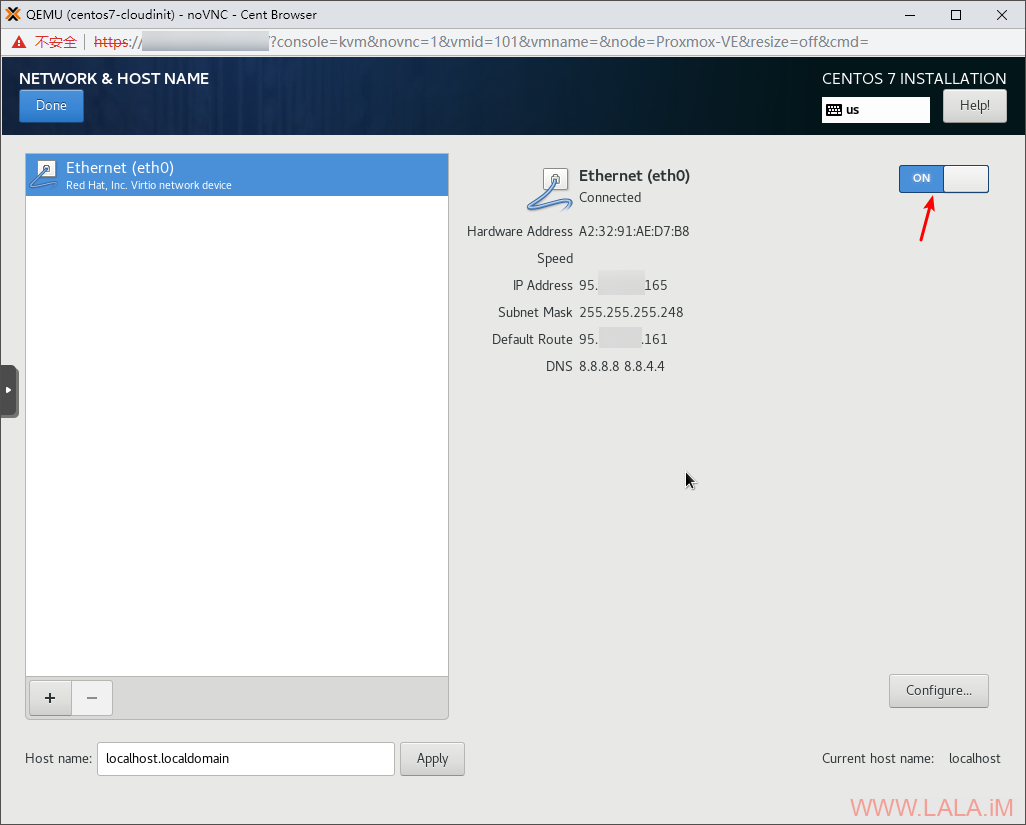
配置好了后需要打开这个ON,也就是让这个网卡开机自启动(ONBOOT)
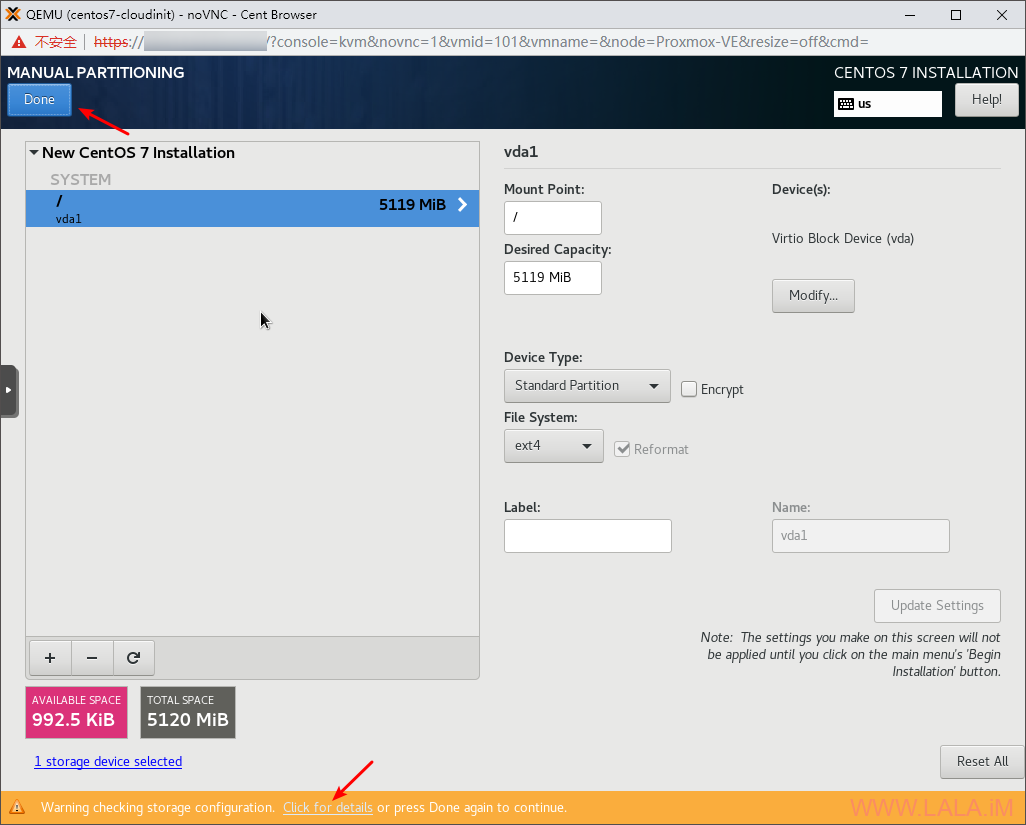
然后是硬盘分区这里,5GB全部划分到/,保存的时候无视掉下面的那个警告,点两次DONE即可:
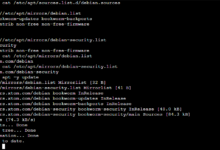
开机后使用VNC登录到机器内,安装Cloud-init,CentOS7还需要额外装一个cloud-utils-growpart:
yum -y install cloud-init
yum -y install cloud-utils-growpart
注:如果没有cloud-utils-growpart小鸡硬盘不能自动扩容。
之后编辑配置文件:
nano /etc/cloud/cloud.cfg
修改:
disable_root: 0
ssh_pwauth: 1
删除掉如下配置:
cloud_config_modules:
 - puppet
 - chef
 - salt-minion
 - mcollective
 - disable-ec2-metadata

cloud_final_modules:
 - rightscale_userdata
根据我个人的使用习惯,关闭防火墙:
systemctl stop firewalld
systemctl disable firewalld
关闭SELinux:
sed -i 's/SELINUX=enforcing/SELINUX=disabled/g' /etc/selinux/config
setenforce 0
删除登录记录/删除命令记录:
echo > /var/log/wtmp
history -c
回到Proxmox关闭这台虚拟机即可转换成系统模板使用。
现在我们可以在刚做好的基础镜像上克隆一台小鸡出来,进入到这台小鸡后,可以继续使用Cloud-init制作二次模板。
在克隆的小鸡内,还是编辑cloud-init的配置文件:
nano /etc/cloud/cloud.cfg
在文件末尾可以加入runcmd参数,runcmd的作用就是运行你在配置文件内写入的命令,在开机之前Cloud-init会自动执行。
例如,我现在想让一台CentOS7自动换内核并开启BBR:
runcmd:
  - rpm --import https://www.elrepo.org/RPM-GPG-KEY-elrepo.org
  - rpm -Uvh http://www.elrepo.org/elrepo-release-7.0-3.el7.elrepo.noarch.rpm
  - yum -y install yum-utils
  - yum-config-manager --enable elrepo-kernel
  - yum -y install kernel-ml kernel-ml-devel
  - grub2-set-default 0
  - reboot
  - echo "net.core.default_qdisc = fq" >> /etc/sysctl.conf
  - echo "net.ipv4.tcp_congestion_control = bbr" >> /etc/sysctl.conf
  - sysctl -p
单纯用一个runcmd能做的事情可能比较局限,这时候我们还可以使用write_files。write_files的作用就是按照你的配置去新建文件,并在文件内写入内容。
例如我现在想在一台Debian10内自动安装qBittorrent并使用systemd管理:
write_files:
  - path: /etc/systemd/system/qbittorrent-nox.service
    owner: root:root
    permissions: '0755'
    content: |
      [Unit]
      Description=qBittorrent Daemon Service
      After=network.target

      [Service]
      User=root
      ExecStart=/usr/bin/qbittorrent-nox
      ExecStop=/usr/bin/killall -w qbittorrent-nox

      [Install]
      WantedBy=multi-user.target

runcmd:
  - add-apt-repository ppa:qbittorrent-team/qbittorrent-stable
  - apt -y update
  - apt -y install qbittorrent-nox
  - systemctl enable qbittorrent-nox
  - systemctl start qbittorrent-nox
这样配置完成之后,可以把这台小鸡再次转换成模板,这样就做好了一个基础模板和定制模板。