前段时间水过一篇类似的文章,不过当时配置的postfix是用的系统账户,这样有一个问题就是如果邮箱多了就不好管理了。
所以用系统账户的话只适合个人使用,如果要多人使用还是应该要配置虚拟账户。
除此之外之前的反垃圾邮件和DKIM签名都是用的rspamd,这次准备用spamassassin+opendkim,当然这些配置会另外开几篇文章水一水,本文先把最基础的环境搭建起来。
虽说这次是准备用虚拟用户,但我不打算配置MySQL数据库,因为就目前而言我这边的邮箱数量还没有达到那个级别,另外也是为了简化一些步骤。网上现在很多配置postfix虚拟用户的文档都是用到了数据库,对于这种没有数据库的配置文档真的是少的可怜,一把辛酸泪啊~
安装基本工具和nginx/certbot/php:
apt -y update
apt -y install wget curl unzip gnupg
apt -y install nginx python-certbot-nginx
apt -y install php7.3-common php7.3-fpm php7.3-imap php7.3-mysql php7.3-sqlite php7.3-mbstring php7.3-xml php7.3-intl php7.3-zip php7.3-gd php7.3-ldap php7.3-curl
安装postfix和dovecot:
curl https://repo.dovecot.org/DOVECOT-REPO-GPG | gpg --import
gpg --export ED409DA1 > /etc/apt/trusted.gpg.d/dovecot.gpg
echo "deb https://repo.dovecot.org/ce-2.3-latest/debian/buster buster main" > /etc/apt/sources.list.d/dovecot.list
apt -y update
apt -y install postfix dovecot-core dovecot-imapd dovecot-lmtpd dovecot-sieve dovecot-managesieved
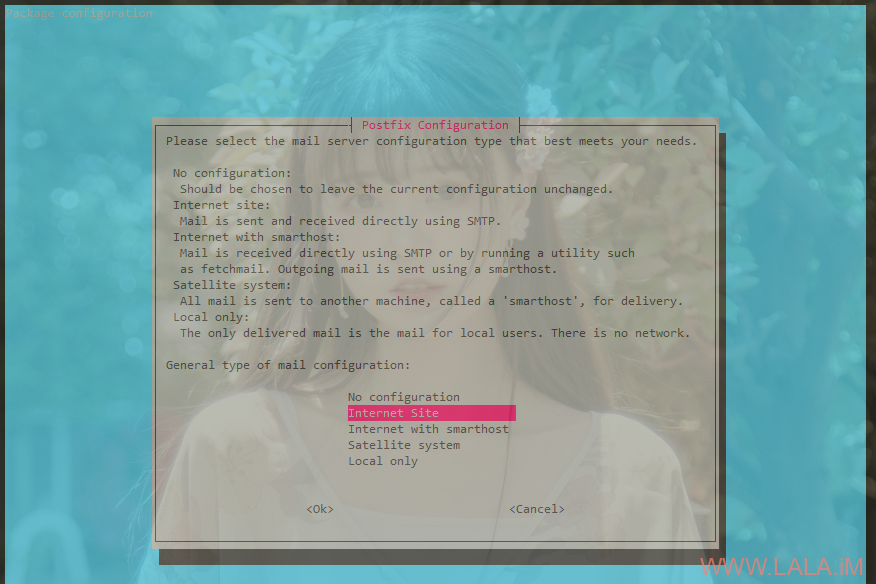
弹出的界面选择Internet Site:
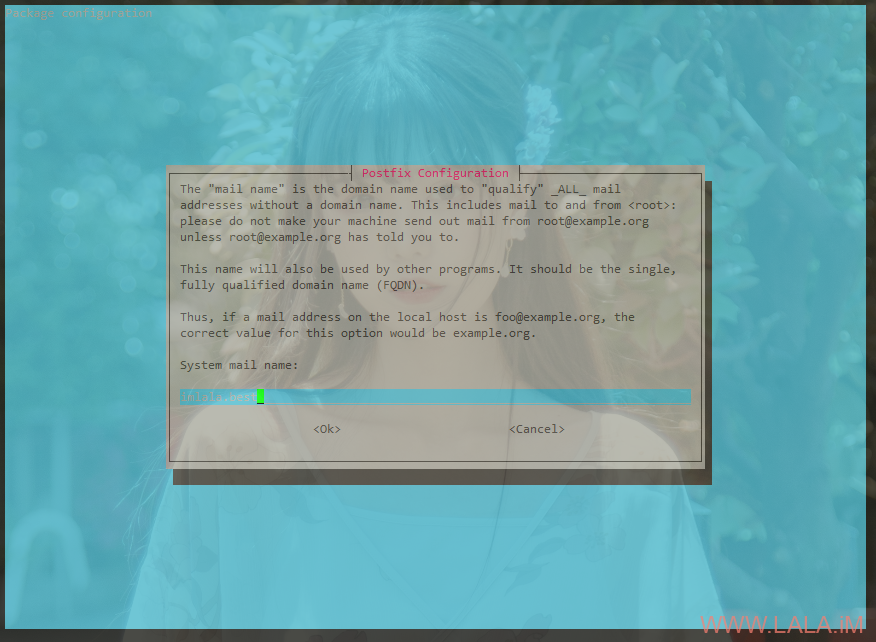
输入你的域名:
修改一下php的上传大小:
sed -i "s/post_max_size = 8M/post_max_size = 10240M/g" /etc/php/7.3/fpm/php.ini
sed -i "s/upload_max_filesize = 2M/upload_max_filesize = 10240M/g" /etc/php/7.3/fpm/php.ini
重载php,设置nginx/php-fpm/postfix/dovecot开机自启:
systemctl reload php7.3-fpm
systemctl enable php7.3-fpm nginx postfix dovecot
下载解压rainloop的源码:
mkdir -p /var/www/rainloop && cd /var/www/rainloop
wget http://www.rainloop.net/repository/webmail/rainloop-latest.zip
unzip rainloop-latest.zip
rm -rf rainloop-latest.zip
给予正确的权限:
chmod -R 755 /var/www/rainloop
chown -R www-data:www-data /var/www/rainloop
新建nginx站点配置文件:
nano /etc/nginx/conf.d/rainloop.conf
写入如下配置:
server {
    listen       80;
    server_name  mail.imlala.best; # 换成你的域名
    index        index.html index.php;
    root         /var/www/rainloop;
    client_max_body_size 128G;

    error_log /var/log/nginx/rainloop.error.log;
    access_log /var/log/nginx/rainloop.access.log;

    location / {
        try_files $uri $uri/ /index.php?$query_string;
    }

    location ^~ /data {
        deny all;
    }

    location ~ \.php$ {
        fastcgi_pass   unix:/run/php/php7.3-fpm.sock;
        fastcgi_index  index.php;
        fastcgi_param  SCRIPT_FILENAME  $document_root$fastcgi_script_name;
        include        fastcgi_params;
    }
}
测试nginx配置:
nginx -t
没问题的话使用certbot签发SSL证书:
certbot --nginx --agree-tos --no-eff-email --email xxxxx@qq.com
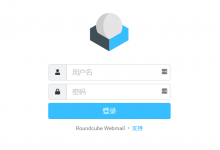
打开你的域名访问到后台管理界面:
mail.imlala.best/?admin
默认的管理员账号:admin,密码:12345
rainloop的安装就到此结束了,rainloop后续的配置这里先放一放,等到postfix/dovecot配置好了再回头来配置。
现在我们来配置postfix,首先编辑master.cf:
nano /etc/postfix/master.cf
去掉如下注释支持587:
submission inet n       -       y       -       -       smtpd
  -o syslog_name=postfix/submission
  -o smtpd_tls_security_level=encrypt
去掉如下注释支持465:
smtps     inet  n       -       y       -       -       smtpd
  -o syslog_name=postfix/smtps
  -o smtpd_tls_wrappermode=yes
然后使用postconf来修改main.cf的配置,首先配置ssl证书:
postconf -e "smtpd_tls_cert_file = /etc/letsencrypt/live/mail.imlala.best/fullchain.pem"
postconf -e "smtpd_tls_key_file = /etc/letsencrypt/live/mail.imlala.best/privkey.pem"
postconf -e "smtp_tls_security_level = may"
设置正确的邮件服务器的主机名以及取消邮件消息大小的限制:
postconf -e "myhostname = mail.imlala.best"
postconf -e "message_size_limit = 0"
配置sasl验证:
postconf -e "smtpd_sasl_auth_enable = yes"
postconf -e "smtpd_sasl_type = dovecot"
postconf -e "smtpd_sasl_path = private/auth"
postconf -e "smtpd_sasl_security_options = noanonymous"
postconf -e "smtpd_relay_restrictions = permit_mynetworks, permit_sasl_authenticated, reject_unauth_destination"
配置虚拟域名和邮箱目录,以及使用lmtp作为本地邮件传输代理:
postconf -e "virtual_transport = lmtp:unix:private/dovecot-lmtp"
postconf -e "virtual_mailbox_domains = imlala.best"
postconf -e "virtual_mailbox_base = /var/mail/vhosts"
创建一个vmail系统账户,指定并创建它的家目录为我们刚才配置的虚拟邮箱目录:
useradd -r -s /sbin/nologin -m -d /var/mail/vhosts -U vmail
在虚拟邮箱目录下面新建一个以你的域名地址命名的目录:
mkdir -p /var/mail/vhosts/imlala.best
调整目录的所有者为vmail:
chown -R vmail:vmail /var/mail/vhosts
[重要!]接下来手动编辑main.cf:
nano /etc/postfix/main.cf
从mydestination删掉你的域名,例如:
mydestination = imlala.best
必须删除,否则后续你将无法接收邮件。
postfix的配置告一段落,接下来配置dovecot。
首先编辑10-ssl.conf:
nano /etc/dovecot/conf.d/10-ssl.conf
启用ssl并配置ssl证书:
ssl = yes
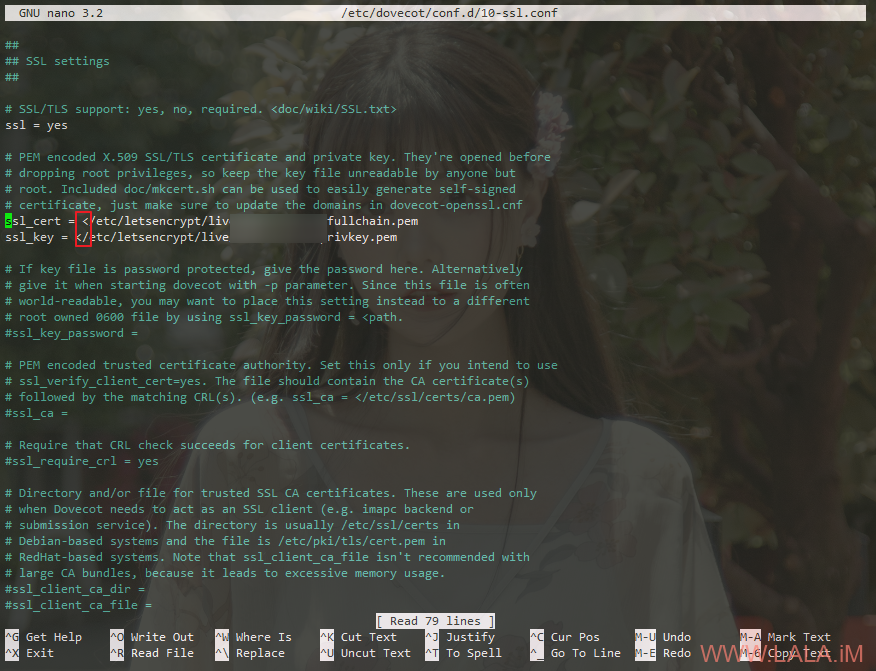
ssl_cert = /etc/letsencrypt/live/mail.imlala.best/fullchain.pem
ssl_key = /etc/letsencrypt/live/mail.imlala.best/privkey.pem
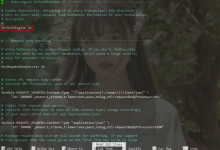
由于wordpress文章编辑器转义,这个路径的前面应该还有一个如图所示的符号:
编辑10-master.conf:
nano /etc/dovecot/conf.d/10-master.conf
修改lmtp配置:
service lmtp {
  unix_listener /var/spool/postfix/private/dovecot-lmtp {
    mode = 0666
    user = postfix
    group = postfix
  }
}
还是在这个配置文件修改sasl验证配置:
service auth {
...
  unix_listener /var/spool/postfix/private/auth {
    mode = 0666
    user = postfix
    group = postfix
    }
  ...
}
编辑10-mail.conf配置用户邮箱目录:
nano /etc/dovecot/conf.d/10-mail.conf
将mail_location改为如下所示(%d表示域名,%n表示用户名:)
mail_location = maildir:/var/mail/vhosts/%d/%n
编辑10-auth.conf:
nano /etc/dovecot/conf.d/10-auth.conf
按照下面的内容来配置:
disable_plaintext_auth = yes
auth_mechanisms = plain login
#!include auth-system.conf.ext
!include auth-passwdfile.conf.ext
编辑auth-passwdfile.conf.ext:
nano /etc/dovecot/conf.d/auth-passwdfile.conf.ext
修改成下面的配置:
passdb {
  driver = passwd-file
  args = /etc/dovecot/users
}

userdb {
  driver = static
  args = uid=vmail gid=vmail home=/var/mail/vhosts/%d/%n
}
创建passwd-file:
nano /etc/dovecot/users
在这里面填写你的邮箱账号和密码,格式如下:
admin@imlala.best:{PLAIN}password::::::
lala@imlala.best:{PLAIN}123456::::::
最后我们编辑15-mailboxes.conf给用户的邮箱自动订阅几个常用的文件夹:
nano /etc/dovecot/conf.d/15-mailboxes.conf
在需要订阅的文件夹上面加上auto = subscribe即可,例如:
namespace inbox {
  # These mailboxes are widely used and could perhaps be created automatically:
  mailbox Drafts {
    auto = subscribe
    special_use = \Drafts
  }
  mailbox Junk {
    auto = subscribe
    special_use = \Junk
  }
  mailbox Trash {
    auto = subscribe
    special_use = \Trash
  }

  # For \Sent mailboxes there are two widely used names. We'll mark both of
  # them as \Sent. User typically deletes one of them if duplicates are created.
  mailbox Sent {
    auto = subscribe
    special_use = \Sent
  }
  mailbox "Sent Messages" {
    special_use = \Sent
  }
在做完上面这些配置之后,现在重启你的postfix/dovecot:
systemctl restart postfix dovecot
现在我们回到rainloop的管理后台,继续rainloop的后续配置。
首先在“常规”这里按下图配置:
然后在“域名”-“添加域名”,按下图来配置:
加密这里选择无,选择SSL/TLS或者STARTTLS都是可以的,只要你按照本文的配置来正常情况下这三种方式都应该是测试通过的,测试通过的话IMAP和SMTP会像上图一样显示绿色。
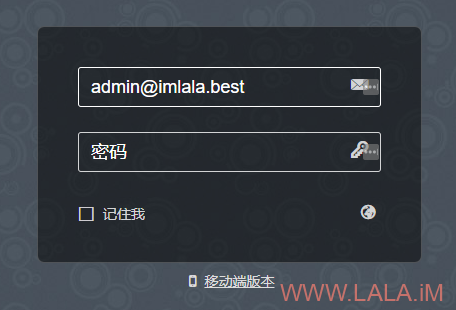
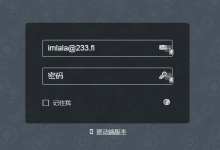
用户登录的时候,邮箱的账号名是带@的:
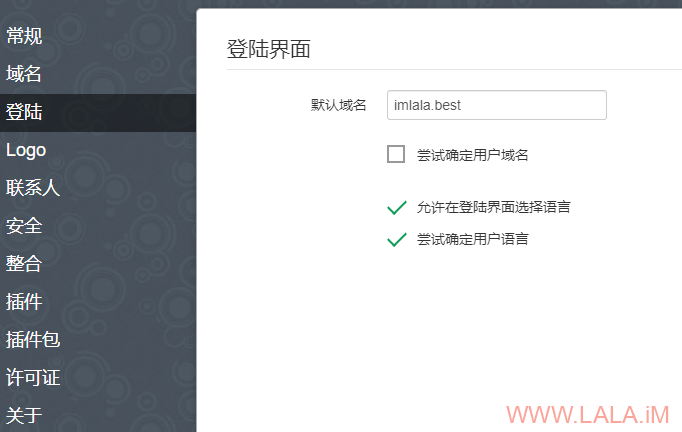
如果需要不带@直接输入账号就能登录,那你还需要在rainloop后台把这个默认域名填写为你的域名:
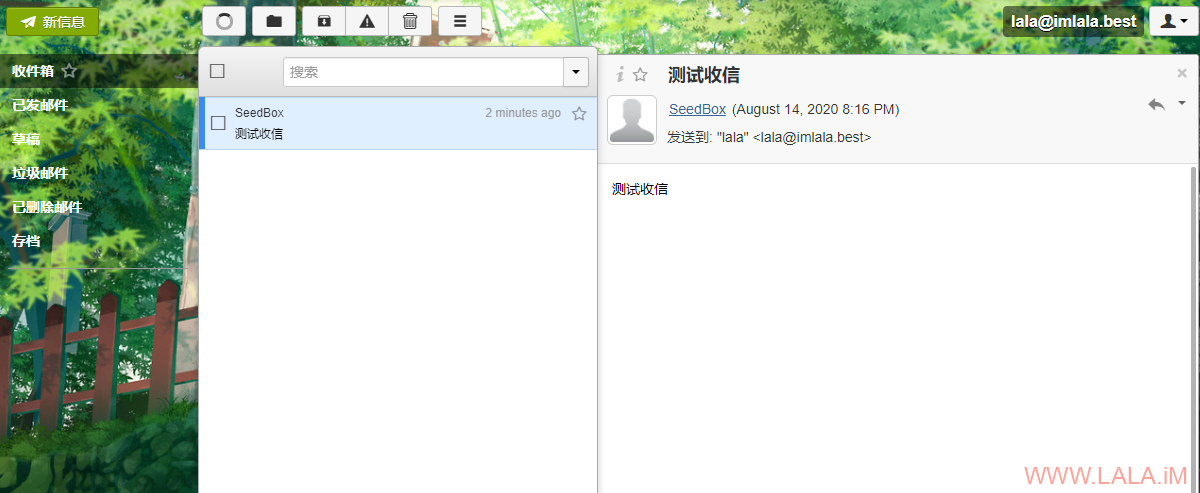
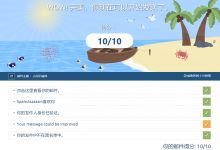
最后来简单测试一下,测试收信:
测试发信:
 荒岛
荒岛







照着配置走,到了rainloop管理后台添加域名的时候出现“stream_socket_client(): unable to connect to tcp://mail.foliage.top:143 (Connection refused)”,这是什么情况?已经试了两遍还是这样。
先用这个打开日志:tail -f /var/log/mail.log
然后点rainloop上面的测试,看看mail.log里面有报错的信息吗?
大佬你看看这是mail.log里的截图,http://149.28.28.81:4000/s/x2JY8gEfiEsqwpF
你这个日志好像滚过去了,看不出来什么有用的信息,你要是方便的话,干脆把机器SSH信息发给我,我上去帮你看看?
可以的话发到这个邮箱就行:lala@imlala.best
大佬,已经发邮件给你了。域名方面是不是只是解析一个A记录mail就可以了?需要设置防火墙吗?
还需要一个mx记录,有防火墙的话你就把端口全部放行了。我刚才帮你看了下,你的10-master.conf内配置写错了,帮你改过来了,你再试试看能测试通过不?
测试后还是不行。 要不我重置系统,麻烦你帮我走一遍安装过程,我到时候再上去看看,然后解析域名方面,我是阿里云购买的域名,平时只解析过A记录,MX记录没解析过。至于防火墙Vultr好像没开防火墙的吧?
mx记录你可以看这篇文章的开头:https://lala.im/6838.html
可以帮你走一遍安装过程,但是今天可能没时间了,你的机器信息我收到了,明天有空我帮你装一遍吧。
谢谢大佬 由衷感谢
由衷感谢
装好了,账号密码都是默认的你自己改下。
谢谢大佬,我终于知道不通的原因,有两个,第一:编辑10-ssl.conf;第二:编辑10-master.conf。就这两个原因导致我143和587一直不通。非常感谢大佬。我照着你的配置重新做了一个通了。
这个配置有个小问题,就是能直接telnet ip 25 然后可以直接发送邮件到本域(其它域需要验证身份)
請問有沒有postfix + dovecot + 任意client的docker一把梭啊?
mailcow之类的都是docker一把梭的吧,github上面还有很多类似的。
我按流程走完了 在登陆提示找不到服务器了呢