
qBitTorrent以及Transmission都是BT客户端,经常挂PT的人应该都熟悉这些软件。至于哪款更好用,仁者见智吧,这里不多讨论。当然如果是我,我选择Aria2。2333~
先来安装qBitTorrent,这里我采用编译安装的方式。不得不说qBitTorrent的编译安装真的是一堆暗坑,不过我TM都给你们填好了,下面的命令一个个复制,应该是可以直接编译成功的。
安装EPEL源:
yum -y install epel-release
安装开发工具包:
yum -y groupinstall "Development Tools"
安装编译所需依赖和组件:
yum -y install wget git gcc gcc-c++ qt-devel boost-devel openssl-devel qt5-qtbase-devel qt5-linguist
先来编译安装libtorrent:
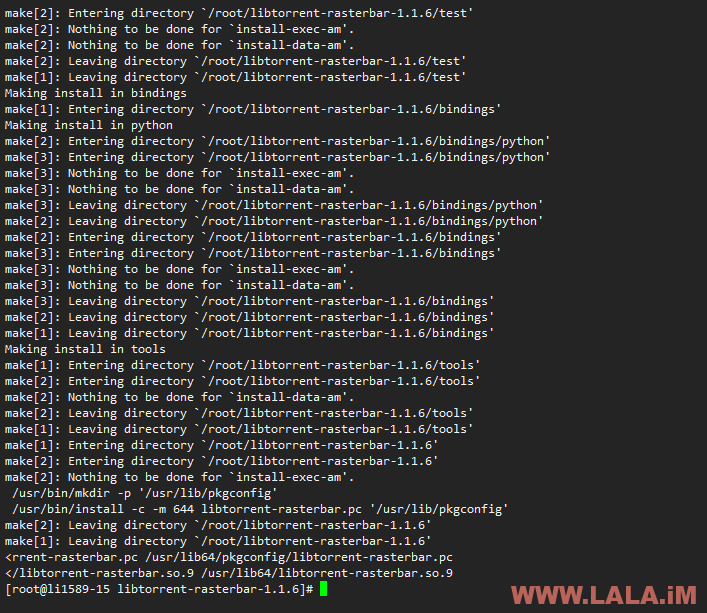
wget https://github.com/arvidn/libtorrent/releases/download/libtorrent-1_1_6/libtorrent-rasterbar-1.1.6.tar.gz
tar -zxf libtorrent-rasterbar-1.1.6.tar.gz
cd libtorrent-rasterbar-1.1.6
./configure --prefix=/usr CXXFLAGS=-std=c++11
make
make install
ln -s /usr/lib/pkgconfig/libtorrent-rasterbar.pc /usr/lib64/pkgconfig/libtorrent-rasterbar.pc
ln -s /usr/lib/libtorrent-rasterbar.so.9 /usr/lib64/libtorrent-rasterbar.so.9
成功后如图所示:
接着来安装qBitTorrent:
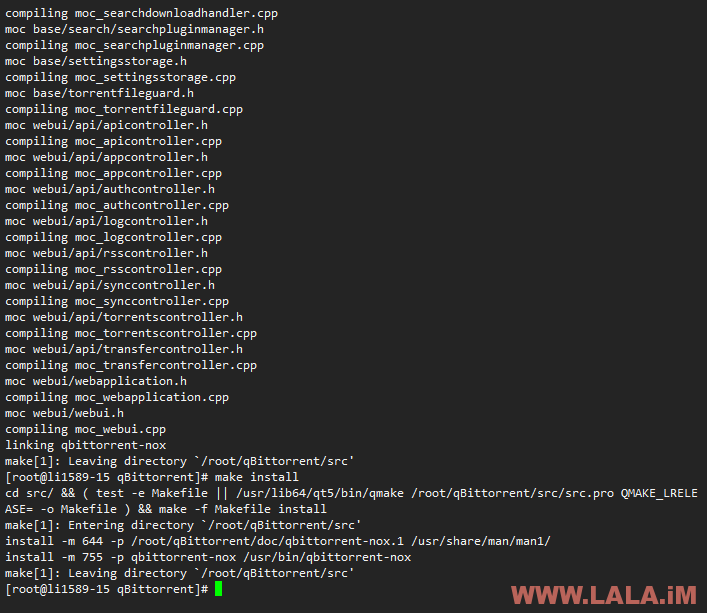
cd
git clone https://github.com/qbittorrent/qBittorrent.git
cd qBittorrent
./configure --prefix=/usr --disable-gui CPPFLAGS=-I/usr/include/qt5 CXXFLAGS=-std=c++11
make
make install
完成后如图所示:
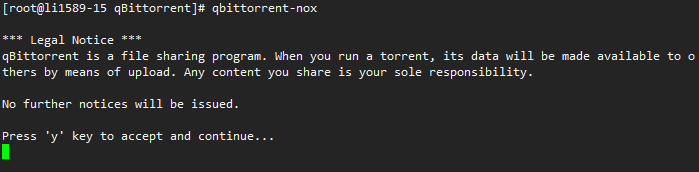
安装完成后可以直接运行:
qbittorrent-nox
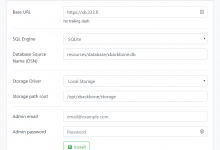
第一次运行,我们需要按y然后回车同意qBitTorrent的一些条款信息:
接着qBitTorrent就运行成功了,会回显给我们初始的WEBUI地址以及账号密码:

注:
1、WEBUI地址是你的VPS公网IP+端口8080
2、管理员账号是admin密码是adminadmin
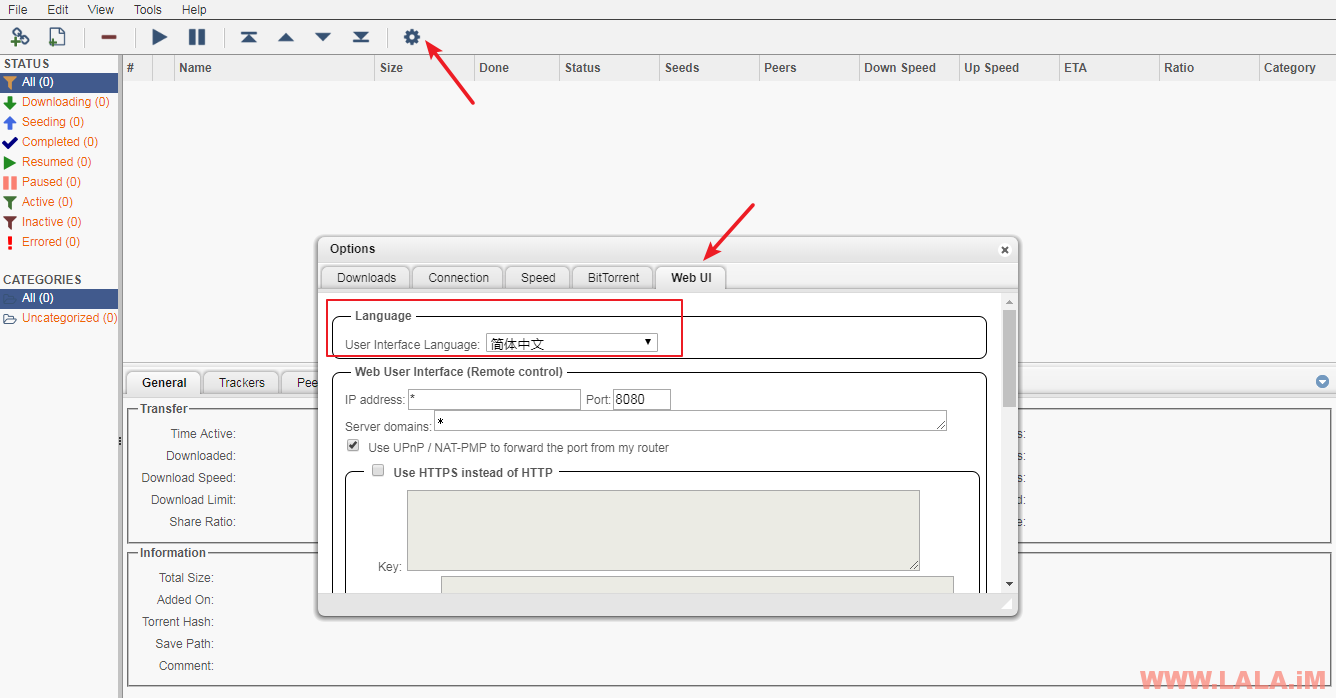
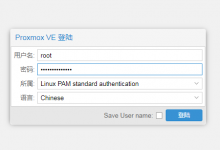
我们打开浏览器如果没问题的话,就能看到qBitTorrent的登录界面了:

使用默认的管理账号登录进去后首先要做的一件事就是修改WEB界面的语言:
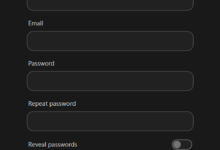
接着就是要把默认的管理密码修改掉:
回到终端内按键盘组合键Ctrl+C退出运行。请注意在WEB界面上做的这些系统级别的更改,比如更改语言之类的,必须要重启qBitTorrent才能生效!
现在我们写一个服务,实现开机启动qBitTorrent和方便日常管理:
vi /usr/lib/systemd/system/qbittorrent.service
写入:
[Unit]
Description=qbittorrent torrent server

[Service]
User=root
ExecStart=/usr/bin/qbittorrent-nox
Restart=on-abort

[Install]
WantedBy=multi-user.target
重载daemon让新的配置文件生效:
systemctl daemon-reload
管理命令:
systemctl start qbittorrent
systemctl enable qbittorrent
systemctl status qbittorrent
systemctl stop qbittorrent
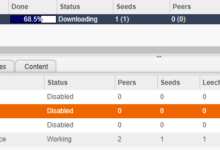
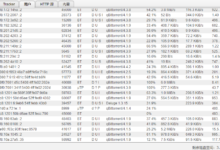
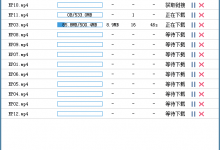
OK,qBitTorrent的安装就大功告成了,让我们来看看下载效果如何:
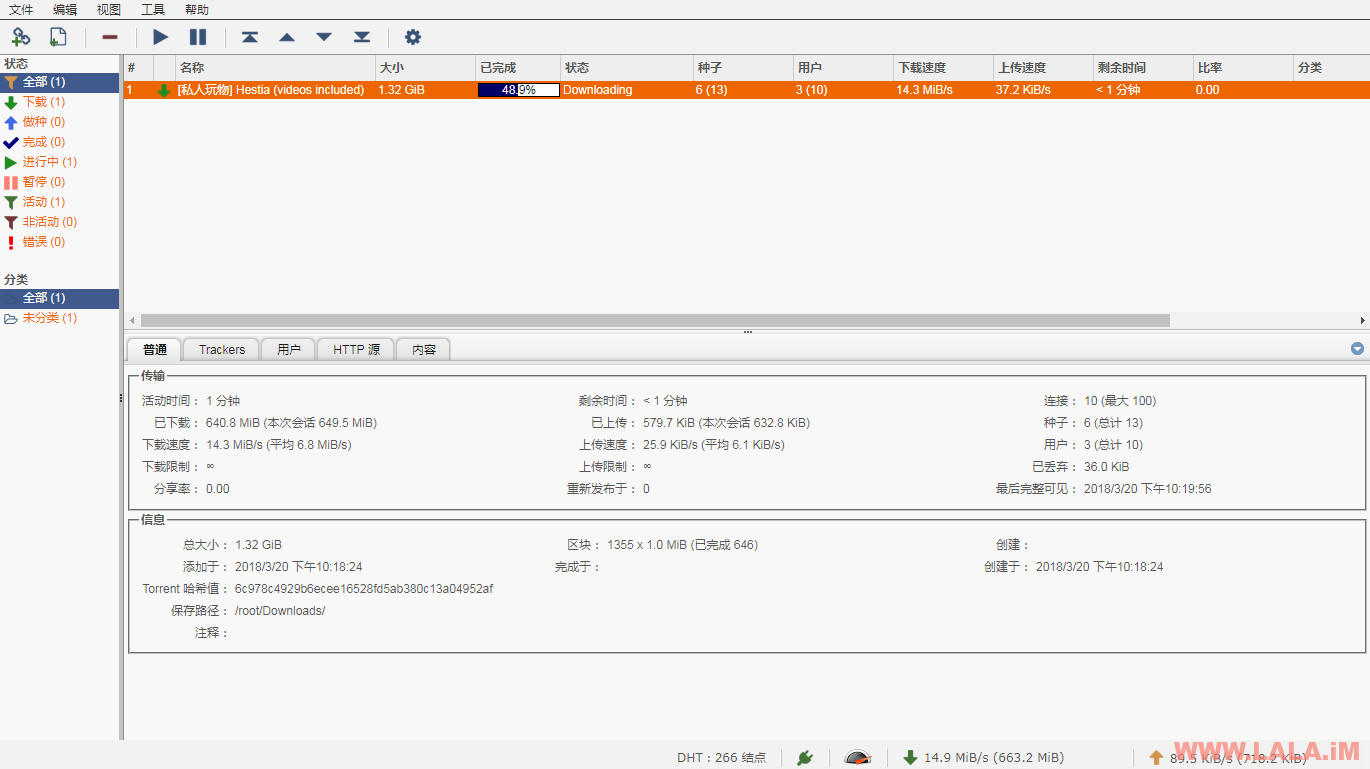
各方面使用都没有问题,很完美~
编译安装的好处就在于我们可以安装最新版的软件,可以看到我们安装的是最新版:
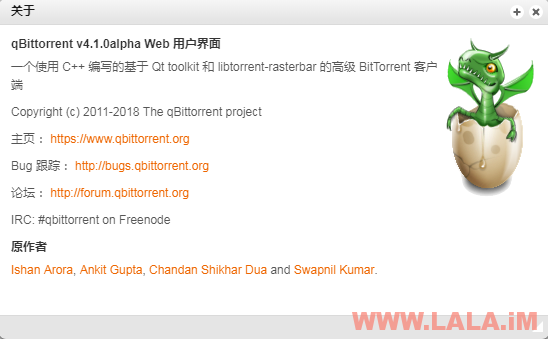
接下来是Transmission的安装了~
Transmission我选择直接用yum安装,因为Transmission本就定义为一个简单、轻量的BT客户端,用编译那么麻烦的方法不是和Transmission的本意相违和嘛。另外由于Transmission并不会像qBitTorrent那样经常刷“版本号”。所以,一般yum安装的版本也是较新版本。
安装EPEL源:
yum -y install epel-release
一条命令完事:
yum -y install transmission transmission-daemon
虽然Transmission的安装非常简单,但是Transmission有一些反人类的设置,比如配置文件必须要首次启动软件后才会生成。所以这里,我们要先启动:
systemctl start transmission-daemon
其次,默认的配置文件并不是最佳的配置,尤其是当我们使用WEBGUI的时候,肯定是需要自己修改的,但是Transmission的配置文件你想让更改生效就必须要先停止Transmission的运行,所以这里我们还要把刚启动的Transmission给停止运行:
systemctl stop transmission-daemon
看到这里,是不是觉得Transmission这玩意是真有点蛋疼啊,没事,更蛋疼的还在后面。
查找一下配置文件到底在哪里:
find / -name settings.json
找到了,路径如下:
/var/lib/transmission/.config/transmission-daemon/settings.json
编辑它
vi /var/lib/transmission/.config/transmission-daemon/settings.json
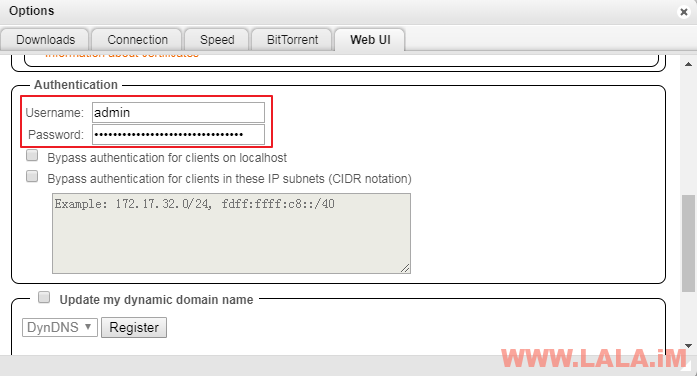
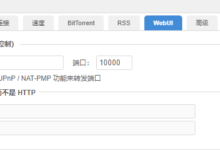
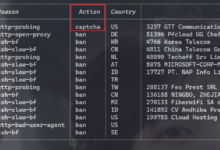
需要更改的地方如下图红框所示:

注:
1、rpc-authentication-required的值改为true。
2、rpc-host-whitelist-enabled的值改为false。
3、rpc-password请设置一个高强度的密码。
4、rpc-username是你的WEBGUI登录用户名,这里可以自定义填写。
5、rpc-whitelist-enabled的值改为false。
OK,配置文件改完后,我们现在重新运行Transmission:
systemctl start transmission-daemon
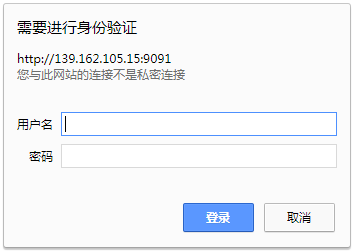
现在通过浏览器访问你的VPS公网IP+端口9091应该就可以访问到Transmission的WEB界面了,并且是需要进行登录验证的,而用来验证的账号密码就是刚才在配置文件内设置的:
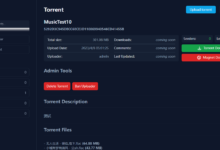
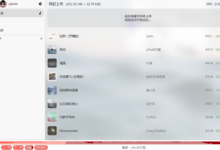
登录进去之后,我们尝试下载一个文件试试:
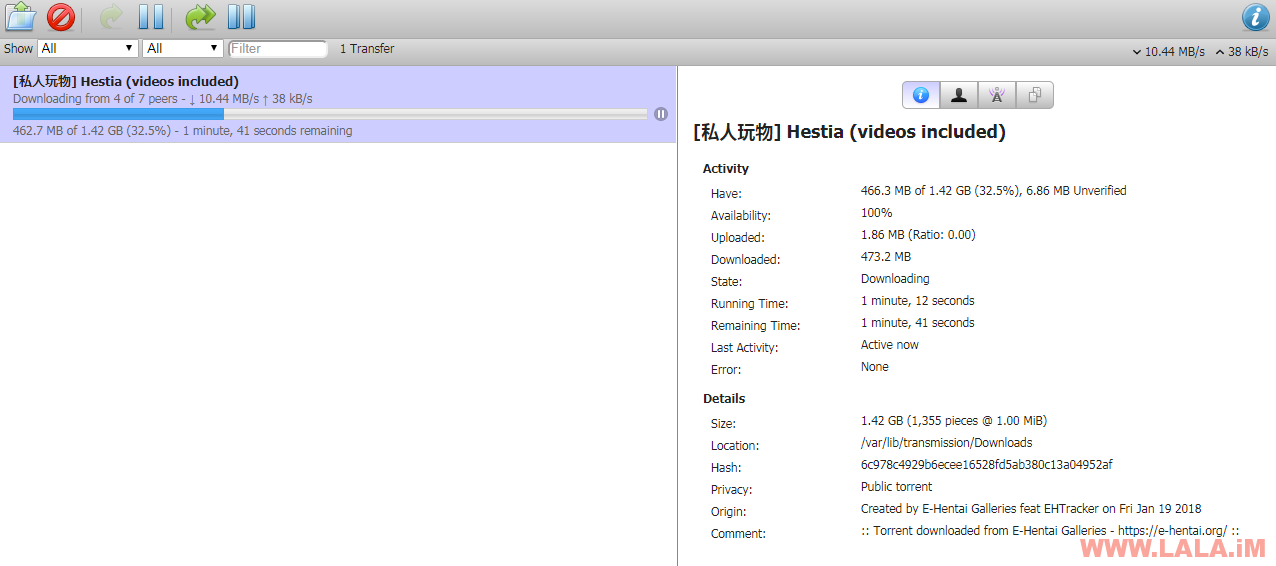
也是完全OK的,使用没任何问题~
通过EPEL源安装的Transmission版本是2.92:
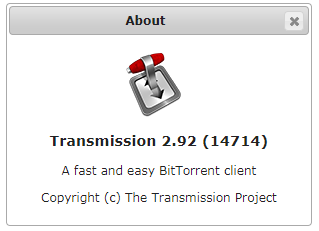
值得一提的是,这个版本被爆出有安全漏洞,不过影响不是特别大。只要设置了rpc-authentication-required是可以无视掉的。当然如果你不是特别放心的话,那就只能自己编译安装最新的2.93版了。
写在最后:
其实我自己也基本不玩什么PT、BT之类的,对于这两款软件到底谁更好我也说不清楚,但是就这两个的软件特性和区别还是很明显的。
1、在WEBGUI美观方面,虽然两个都设计的挺丑的,但是很明显Transmission更丑更单调一点。。。
2、在WEBGUI易用方面,qBitTorrent也明显要好于Transmission。qBitTorrent有中文支持,其次功能、可设置项要比Transmission多。
3、可能大家最关系的是下载速度,但是我目前测试不出来这两个软件下载速度哪个更快,感觉都差不多。


生命不息折腾不止呀!
还好,主要我昨天又买了一个大硬盘的VPS,想拿来挂点BT,索性折腾了一下。
是否可以和上一篇文章的Plex播放器共存
可以,本来就是这两个BT软件用来下电影,然后Plex用来观看的。
装libtorrent的时候 make到cxx peer_connection.lo卡了一个小时了。。。是不是vps太垃圾
多数是内存不够用或者是CPU辣鸡到一种境界。。。
重装一次系统,编译qibbtorrent结果端口打不开了…status显示Unit qbittorrent.service could not be found.
凉凉,deluge不能批量添加种子啊
目前遇到了几个个问题.
qBitTorrent教程在编译libtorrent时被杀进程 换vultr 5刀机测试了下没事 应该是我的机太垃圾的缘故 看来内存要512MB以上
一个是搭建好qBitTorrent之后访问被拒绝 端口已开放
一个是Transmission卡在验证页面了.用户名与密码复制粘上去也登不进. 复制{后边的与包括{都试过了
心好累
Tr这个问题,可能评论这里就说不清楚了,因为Tr涉及到登录的选项很多,而且很杂乱。。。
关于qb访问不了的问题,估计是因为你编译了开发版本(就是作者还没正式发布的版本),卸载现在编译的版本,然后重新编译最新版就行了。
卸载命令,在编译目录内执行:make uninstall
当前qb最新版:https://github.com/qbittorrent/qBittorrent/archive/release-4.1.1.tar.gz
可以弄一个编译的命令啊,环路这个地址进去没法编译啊,小白不知道还需要修改什么数据
大佬,我全部按照教程安装完毕,并且出现了登入界面。。但是输入账号密码进不去什么情况
你装的是QB还是TR?
大佬 按照教程 弄了Te那个 出现这个代码
root@LAX750 ~]# systemctl start transmission-daemon Job for transmission-daemon.service failed because the control process exited with error code. See “systemctl status transmission-daemon.service” and “journalctl -xe” for details.
[root@LAX750 ~]# systemctl status transmission-daemon
● transmission-daemon.service – Transmission BitTorrent Daemon
Loaded: loaded (/usr/lib/systemd/system/transmission-daemon.service; disabled; vendor preset: disabled)
Active: failed (Result: exit-code) since Fri 2018-11-30 10:49:24 EST; 2min 12s ago
Process: 11102 ExecStart=/usr/bin/transmission-daemon -f –log-error (code=exited, status=1/FAILURE)
Main PID: 11102 (code=exited, status=1/FAILURE)
Nov 30 10:49:24 LAX750 systemd[1]: Starting Transmission BitTor….Nov 30 10:49:24 LAX750 systemd[1]: transmission-daemon.service:…ENov 30 10:49:24 LAX750 systemd[1]: Failed to start Transmission….Nov 30 10:49:24 LAX750 systemd[1]: Unit transmission-daemon.ser….Nov 30 10:49:24 LAX750 systemd[1]: transmission-daemon.service ….Hint: Some lines were ellipsized, use -l to show in full.
[root@LAX750 ~]#
这是怎么回事啊?
只知道是服务没启动成功,具体是因为什么没启动成功,这里也看不出来。
# make install
make: *** No rule to make target `install’. Stop.
菜鸟心累,查了些解决方法无果,大佬来看看!
重装系统然后用这个试试?https://lala.im/4036.html
请问如果要升级qb的话是要重新编译安装一遍么?
重新编译。
实际上github上面的开发版本有200多m,对于国内下载来说很容易出现下载出错,还有就是根据我的拆坑,gcc版本也需要升级,现在最新版本libtorrent这个依赖也需要升级,而最新的一直编译不成功,我选择的是1.1.12这个版本,这个是我的教程参考了博主

 博主该更新了https://www.clul.cn/archives/5/
可以的,文章写的不错。。qb还没支持libtorrent1.2,这个是大版本升级,不向下兼容1.x的。我之前编译过了,libtorrent1.2我能编译成功,但是qb不能用。