
最近在研究Linux下的哪款BT下载工具最好用,打算挑一款比较好的,去挂下PT。
之前我已经写过qBitTorrent和Transmission的安装教程了,今天再把Deluge的安装教程详细一下。写这篇文章的主要原因是我发现网上有关CentOS7编译安装Deluge的教程几乎没有人写过。另外通过RPM包或者源方法安装的Deluge都是旧版本,旧版本的Deluge有很多严重的安全漏洞。
前排友情提示Deluge的编译安装比较麻烦,如果不想折腾的话,可以看下我之前的这篇文章,在这篇文章中挑一个你喜欢的BT下载工具:
进入正题咯~
先创建一个2G的SWAP,防止待会儿编译的时候出现内存不足导致编译失败:
dd if=/dev/zero of=/var/swap bs=1024 count=2097152
mkswap /var/swap
chmod 0600 /var/swap
swapon /var/swap
更新一下系统,以及安装EPEL源:
yum -y update
yum -y install epel-release
由于Deluge和qBitTorrent一样,都依赖于libtorrent,所以我们在安装Deluge之前,要先把libtorrent安装好,这里libtorrent的安装方法也采用编译的方式。
安装开发工具包:
yum -y groupinstall "Development Tools"
安装编译libtorrent所需依赖:
yum -y install wget git gcc gcc-c++ qt-devel boost-devel openssl-devel qt5-qtbase-devel qt5-linguist
安装编译deluge所需的一些基本依赖,其他依赖组件待会统一用pip的方式来安装:
yum -y install python-setuptools python-devel GeoIP GeoIP-devel gettext intltool
由于Deluge是Python开发的,所以我们在编译libtorrent的时候,需要把libtorrent编译成一个模块,支持Python的import导入。所以这里编译的参数需要加上–enable-python-binding,另外不能和编译qBitTorrent时那样指定编译器的版本为C++11,否则会因为编译器版本不同出现错误:
wget https://github.com/arvidn/libtorrent/releases/download/libtorrent-1_1_6/libtorrent-rasterbar-1.1.6.tar.gz
tar -zxf libtorrent-rasterbar-1.1.6.tar.gz
cd libtorrent-rasterbar-1.1.6
./configure --prefix=/usr --enable-python-binding --with-libiconv
make
make install
ln -s /usr/lib/pkgconfig/libtorrent-rasterbar.pc /usr/lib64/pkgconfig/libtorrent-rasterbar.pc
ln -s /usr/lib/libtorrent-rasterbar.so.9 /usr/lib64/libtorrent-rasterbar.so.9
libtorrent编译成功后,我们要验证一下Python是否可以正常import:
python -c "import libtorrent; print libtorrent.version"
如果可以的话,这里会回显出libtorrent的版本号:

接着我们安装pip:
easy_install pip
用pip来安装deluge所需要的更多依赖组件:
pip install twisted pyopenssl simplejson pyxdg chardet geoip setproctitle pillow mako service_identity
现在我们就可以下载deluge的源码了:
cd /root
wget http://download.deluge-torrent.org/source/deluge-1.3.15.tar.gz
tar -xzvf deluge-1.3.15.tar.gz
cd deluge-1.3.15
注:当前最新版是1.3.15,如果有新版发布,可以在这里查看:http://download.deluge-torrent.org/source/?C=M;O=D
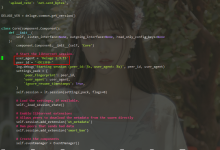
执行如下命令开始编译并完成安装:
python setup.py build
python setup.py install
完成后,执行如下命令即可打开deluge的WEBUI界面:
deluge-web
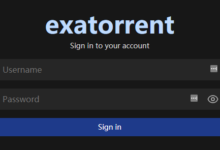
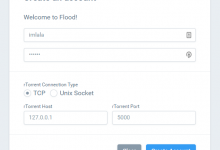
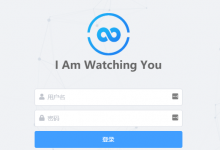
打开你的浏览器访问你的VPS公网IP+端口8112,不出意外的话就能看到WEBUI了:

默认的登录密码是:deluge
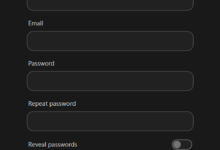
登录进去后deluge会提示让你更改默认密码,我们修改一下复杂点的密码即可:

现在我们回到终端内按键盘组合键Ctrl+C退出运行。
接着把deluge放到后台运行,这里我们需要安装screen:
yum -y install screen
新建一个会话:
screen -S deluge
在新会话内执行:
deluge-web
然后键盘组合键Ctrl+A+D切换出来。这样deluge就在后台运行中了~
如果我们要回到这个会话内,可以执行:
screen -r deluge
如果要停止运行,可以先查看进程ID:
screen -ls
然后退出即可:
screen -X -S 进程ID quit
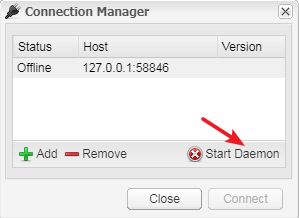
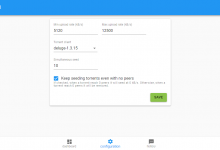
现在让我们回到deluge的WEBUI,你们可以发现此时这个WEBUI上面的功能都是灰色的,并不能正常使用,这是因为我们还没有连接后端服务。
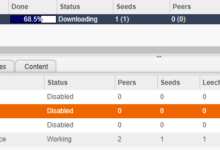
点击WEBUI上面的Connection Manager,接着选中我们的后端服务器,然后点击如图箭头所指的按钮:
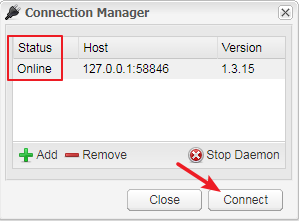
刷新一下页面,再次点击Connection Manager,可以看到这里的状态已经变成Online了,然后点击如图箭头所指的按钮:
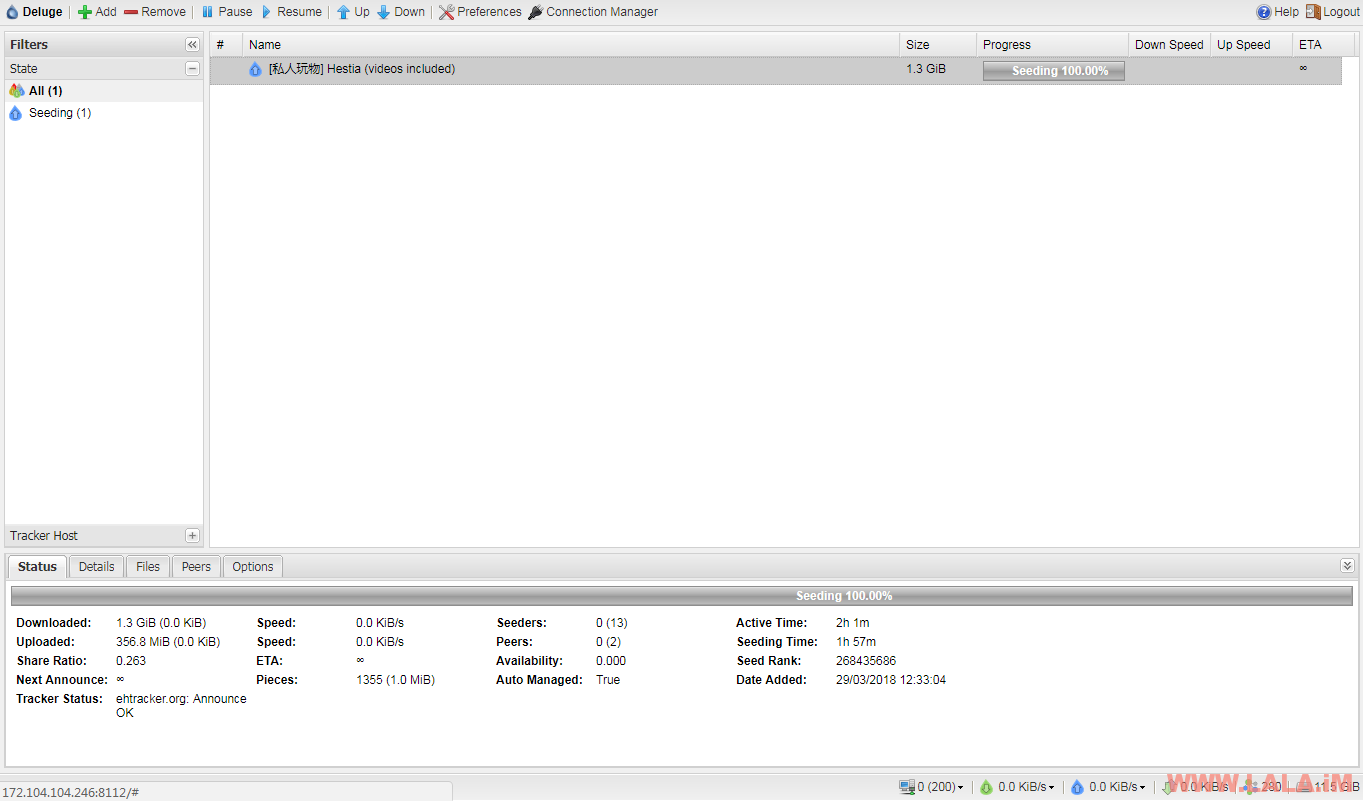
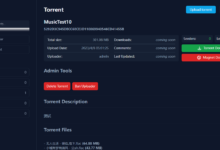
OK,使用完全没有问题:
写在最后:
我是看到网上有一些关于deluge的较好评论才决定安装试用一下的,然而结果发现其实和qBitTorrent以及Transmission相比,deluge并没有什么明显的优势。如果要我在这三个BT下载工具内选择一个话,我会选择Transmission,因为它简单、方便,还有漂亮的第三方WEBUI~
据说还有一个叫rtorrent的BT客户端在网上也被吹的有点神,有空我也去安装一个试试看。


博主你会编译Android的TWRP或者CWM Recovery不,能不能出个教程啊,Google来了很久我也没有找到一个系统的教程,大多都是教怎么刷入的,很少有编译匹配的教程。
不会。。
大佬 请教文中那个链接到其他文章用的什么插件
没用插件啊,直接在编辑器里面换行,然后这行只填你博客其他文章的地址就行了。
哦哦 谢谢
发现个汉化还可以..要不要…作者原文:https://blog.acesheep.com/index.php/archives/450/
centos7命令:
cd /lib/python2.7/site-packages/deluge/ui/web
wget –no-check-certificate https://blog.acesheep.com/usr/uploads/2018/02/1852936078.zip
unzip -o 1852936078.zip
这个汉化可以用的,我之前用过。
感谢大佬教程,现在libtorrent有1.1.13版本了,不知道可以用不? 我把链接替换成1.1.13版本的我编译失败,1.1.12编译没问题,可以使用
我最近没怎么用这个,应该没啥问题才对。。