Conduwuit是一个高性能的Matrix homeserver,配置简单,资源占用少。
与Conduit的差异:https://conduwuit.puppyirl.gay/differences.html
在开始部署之前你可能需要先添加3个DNS解析记录:
woot.example.com // Conduwuit需要
coturn.example.com // 自建TURN服务器需要
cinny.example.com // 自建Cinny客户端需要
我这里使用Docker的方式部署。先安装Docker、NGINX、Certbot:
apt -y update
apt -y install curl wget nginx python3-certbot-nginx
curl -fsSL https://get.docker.com -o get-docker.sh
sh get-docker.sh
新建目录和compose文件:
cd /opt && mkdir conduwuit && cd conduwuit && nano docker-compose.yml
我的compose配置如下:
services:
  homeserver:
    container_name: conduwuit-server
    image: girlbossceo/conduwuit:latest
    restart: unless-stopped
    ports:
      - 6167:6167
    volumes:
      - db:/var/lib/conduwuit
      #- ./conduwuit.toml:/etc/conduwuit.toml
    environment:
      CONDUWUIT_SERVER_NAME: woot.example.com
      CONDUWUIT_DATABASE_PATH: /var/lib/conduwuit
      CONDUWUIT_PORT: 6167
      CONDUWUIT_MAX_REQUEST_SIZE: 80000000
      CONDUWUIT_ALLOW_REGISTRATION: 'true'
      CONDUWUIT_REGISTRATION_TOKEN: 'tosimple'
      CONDUWUIT_NEW_USER_DISPLAYNAME_SUFFIX: '"🌈"'
      CONDUWUIT_ALLOW_FEDERATION: 'true'
      CONDUWUIT_ALLOW_PUBLIC_ROOM_DIRECTORY_OVER_FEDERATION: 'true'
      CONDUWUIT_ALLOW_UNSTABLE_ROOM_VERSIONS: 'true'
      CONDUWUIT_ALLOW_CHECK_FOR_UPDATES: 'true'
      CONDUWUIT_TRUSTED_SERVERS: '["matrix.org"]'
      CONDUWUIT_FEDERATION_TIMEOUT: 3600
      CONDUWUIT_URL_PREVIEW_DOMAIN_CONTAINS_ALLOWLIST: '["*"]'
      CONDUWUIT_TURN_URIS: '["turn:coturn.example.com?transport=udp"]'
      CONDUWUIT_TURN_SECRET: '2dVaXkuMU4mQFvTWnVgh0aqbgexzFPwSoY2hMS7GNAytF56IfsMnlBpm0MYRvEdf'
      CONDUWUIT_WELL_KNOWN__CLIENT: 'https://woot.example.com'
      CONDUWUIT_WELL_KNOWN__SERVER: 'woot.example.com:443'
      #CONDUWUIT_LOG: warn,state_res=warn
      CONDUWUIT_ADDRESS: 0.0.0.0
      #CONDUWUIT_CONFIG: '/etc/conduwuit.toml' # Uncomment if you mapped config toml above

  turn:
    container_name: coturn-server
    image: docker.io/coturn/coturn
    restart: unless-stopped
    network_mode: "host"
    volumes:
      - ./coturn.conf:/etc/coturn/turnserver.conf

volumes:
    db:
至少需要修改以下配置:
CONDUWUIT_SERVER_NAME // 部署Conduwuit实例的域名
CONDUWUIT_TURN_URIS // 部署Coturn TURN服务的域名
CONDUWUIT_TURN_SECRET // Coturn的验证密钥,可使用pwgen命令生成,与coturn.conf内的static-auth-secret配置需一致。
CONDUWUIT_WELL_KNOWN__CLIENT // .well-known相关,如没有特殊需求与conduwuit实例的域名保持一致。
CONDUWUIT_WELL_KNOWN__SERVER // .well-known相关,如没有特殊需求与conduwuit实例的域名保持一致。
建议修改以下配置:
CONDUWUIT_REGISTRATION_TOKEN // 注册时需要填写的TOKEN,类似于注册邀请码,防止滥用。
完整的conduwuit配置文件在此,如果上述的配置不满足你的需求,可按自己的需要进行修改。
之后新建coturn配置文件:
nano coturn.conf
我的配置如下:
use-auth-secret
static-auth-secret=2dVaXkuMU4mQFvTWnVgh0aqbgexzFPwSoY2hMS7GNAytF56IfsMnlBpm0MYRvEdf
realm=coturn.example.com
static-auth-secret可以使用pwgen生成,如没有pwgen工具可先安装:
apt -y install pwgen
然后执行如下命令:
pwgen -s 64 1
启动:
docker-compose up -d
配置NGINX反向代理,新建NGINX站点配置文件:
nano /etc/nginx/sites-available/conduwuit
写入如下配置:
server {
    listen 80;
    server_name woot.example.com;
    merge_slashes off;
    client_max_body_size 80M;

    location / {
        proxy_pass http://127.0.0.1:6167$request_uri;
        proxy_set_header Host $http_host;
        proxy_set_header X-Real-IP $remote_addr;
        proxy_set_header X-Forwarded-For $proxy_add_x_forwarded_for;
        proxy_buffering off;
        proxy_connect_timeout 5m;
    }

    location /_matrix/ {
        proxy_pass http://127.0.0.1:6167$request_uri;
        proxy_set_header Host $http_host;
        proxy_set_header X-Real-IP $remote_addr;
        proxy_set_header X-Forwarded-For $proxy_add_x_forwarded_for;
        proxy_buffering off;
        proxy_connect_timeout 3600s;
        proxy_read_timeout 3600s;
    }

    location /_conduwuit/ {
        proxy_pass http://127.0.0.1:6167$request_uri;
        proxy_set_header Host $http_host;
        proxy_set_header X-Real-IP $remote_addr;
        proxy_set_header X-Forwarded-For $proxy_add_x_forwarded_for;
        proxy_buffering off;
        proxy_connect_timeout 5m;
    }
}
启用站点:
ln -s /etc/nginx/sites-available/conduwuit /etc/nginx/sites-enabled/conduwuit
签发SSL证书:
certbot --nginx --email imlala@example.com --agree-tos --no-eff-email
重新编辑刚启用的站点配置文件:
nano /etc/nginx/sites-available/conduwuit
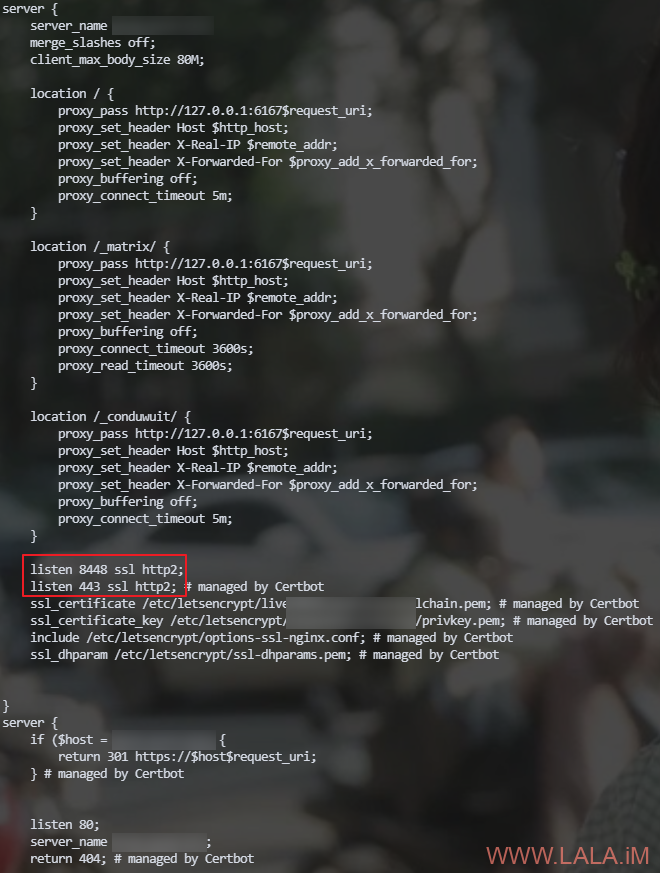
启用HTTP2并增加一个8448端口的监听:
listen 8448 ssl http2;
listen 443 ssl http2; # managed by Certbot
如图所示:
重载NGINX使配置生效:
systemctl reload nginx
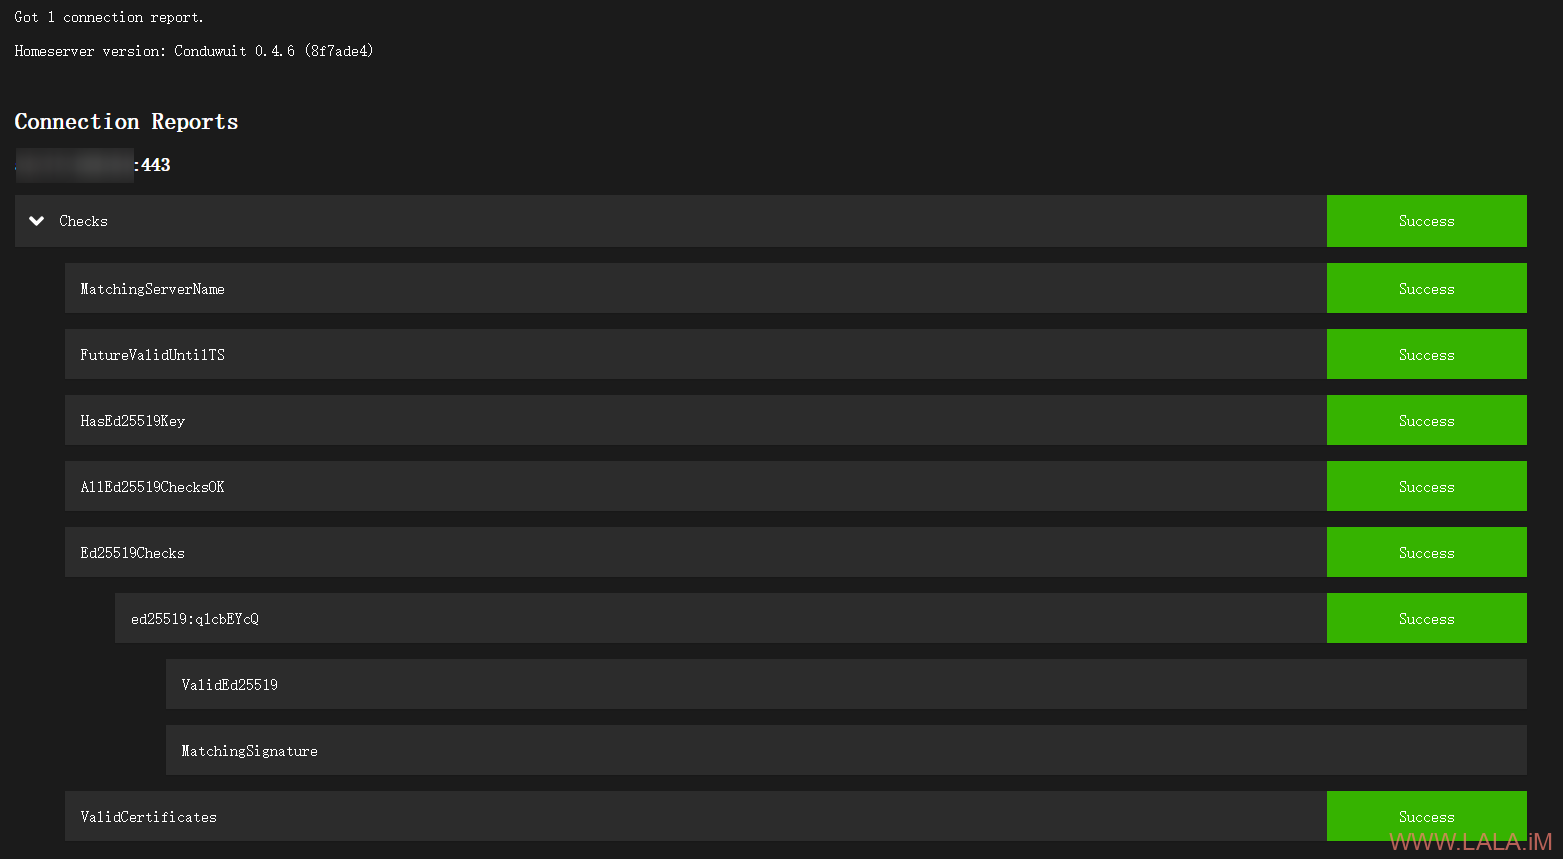
打开Matrix Federation Tester输入你的conduwuit实例域名进行测试,确保一切正常:
至此Conduwuit服务端就部署完成了。
现在可以使用你喜欢的客户端注册账号并登录:https://matrix.org/ecosystem/clients/
这里我推荐Cinny,快速、界面美观,唯一的不足是缺少音视频通话功能,不过我也不用这个功能。再就是E2E加密的房间可能会偶尔出现消息无法解密的问题。
你可以直接使用官方的Web APP:https://app.cinny.in/,或者也可以自建,下面简单说一下如何自建cinny。
假设你的服务器上已经有NGINX,一般都是和Conduwuit部署在同一台服务器上,先下载cinny的压缩包解压:
cd /var/www
wget https://github.com/cinnyapp/cinny/releases/download/v4.2.3/cinny-v4.2.3.tar.gz
tar -xzvf cinny-v4.2.3.tar.gz
mv dist/ cinny/
chown -R www-data:www-data cinny/
编辑cinny的配置文件:
nano cinny/config.json
修改如下配置:
{
  "defaultHomeserver": 0, // 改成0,设置默认使用自建的conduwuit服务器。
  "homeserverList": [
    "woot.example.com", // 设置你的conduwuit实例域名。
    "matrix.org"
  ],
  "allowCustomHomeservers": false,

  ...

  "hashRouter": {
    "enabled": true, // 启用hashRouter
    "basename": "/"
  }
}
新建NGINX站点配置文件:
nano /etc/nginx/sites-available/cinny
写入如下配置:
server {
    listen 80;
    server_name cinny.example.com;
    index index.html;
    root /var/www/cinny;
    client_max_body_size 80M;
    add_header Access-Control-Allow-Origin *;
}
启用站点:
ln -s /etc/nginx/sites-available/cinny /etc/nginx/sites-enabled/cinny
签发SSL证书:
certbot --nginx --email imlala@example.com --agree-tos --no-eff-email
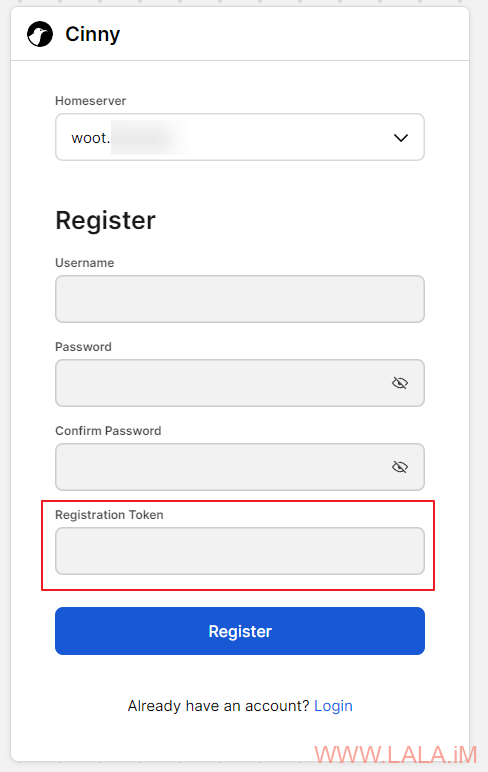
访问cinny.example.com注册一个账号,第一个注册的账号自动成为管理员,注意注册的时候需要填写TOKEN,这个TOKEN是之前在compose内设置的值:“tosimple”(如果你没有修改的话)
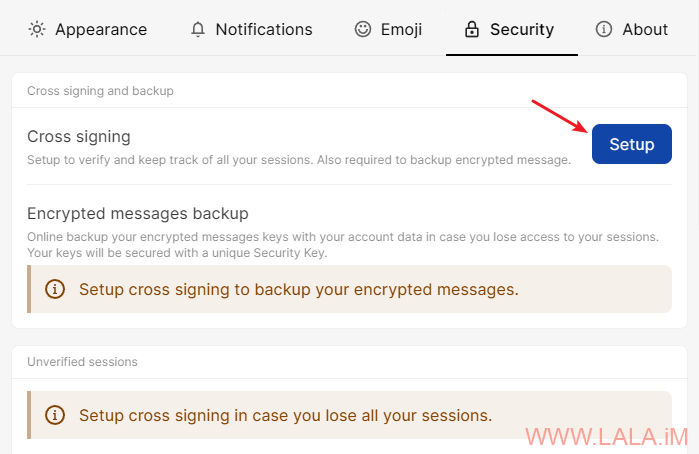
登录进去后应该先配置交叉签名,用于备份E2E加密的聊天记录、设备验证:
这里可以选择直接生成Key或者设置安全短语,建议使用安全短语,设置安全短语后也会自动生成Key,这里的安全短语实际就相当于一个二级密码,方便日后使用,不然你每次恢复聊天记录都得输入一长窜的Key,非常不方便:
登出账号重新登录进来就可以点如图所示的按钮,输入你的Key或者安全短语恢复你的加密聊天记录:
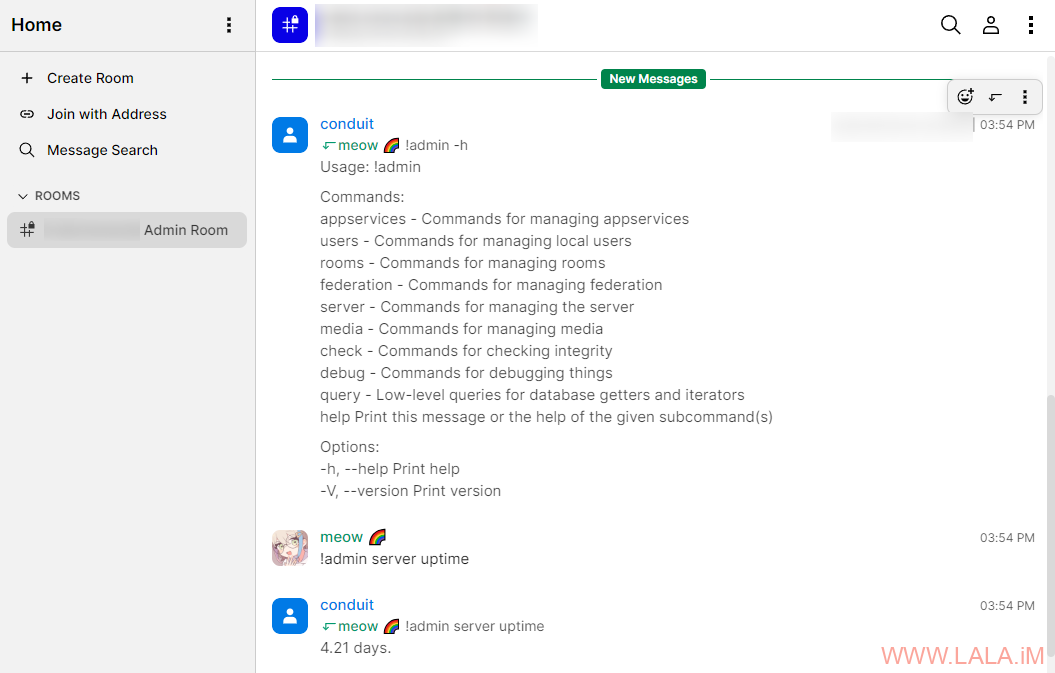
Conduwuit和Conduit一样自带一个管理员房间,可以在这个房间内输入相关命令来管理服务器:
 荒岛
荒岛
