meanTorrent是一个基于Node.js的PT站程序,由国人开发者耗时2年多开发完成,现阶段还在不断的完善更新中,可以说是目前最有潜力的一款PT站程序了。
我将在本文使用CentOS7X64系统,带领你部署一个可以用在生产环境的meanTorrent。在开始之前你应该提前准备好如下环境:
1.一个Gmail邮箱,这将用于后续程序的邮件部署。
2.一台VPS,你的商家没有封锁25端口。
使用Xshell登录到机器内,更新系统/安装依赖/安装开发工具包:
yum -y update
yum -y install wget git screen libicu-devel
yum -y groupinstall "Development Tools"
关闭防火墙:
systemctl stop firewalld.service
systemctl disable firewalld.service
关闭SELinux:
vi /etc/selinux/config
SELINUX=disabled
setenforce 0
安装nvm,安装完成后关闭你的Xshell重新登录才能正常使用:
wget -qO- https://raw.githubusercontent.com/creationix/nvm/v0.33.11/install.sh | bash
接着使用nvm安装Node.js:
nvm install v8.12.0
然后安装bower:
npm install -g bower
现在来安装Mongodb数据库,新建一个源:
vi /etc/yum.repos.d/mongodb-org-3.6.repo
写入:
[mongodb-org-3.6]
name=MongoDB Repository
baseurl=https://repo.mongodb.org/yum/redhat/$releasever/mongodb-org/3.6/x86_64/
gpgcheck=1
enabled=1
gpgkey=https://www.mongodb.org/static/pgp/server-3.6.asc
然后yum安装:
yum -y install mongodb-org
完成之后,启动mongodb以及设置开机启动:
systemctl enable mongod.service
systemctl start mongod.service
现在就就可以拉取meanTorrent项目文件了:
git clone https://github.com/taobataoma/meanTorrent.git
cd meanTorrent
安装依赖包:
npm install
安装完成之后会提示我们有很多漏洞需要进行修补,我们执行:
npm audit fix
然后安装bootstrap的一些组件:
bower install --allow-root
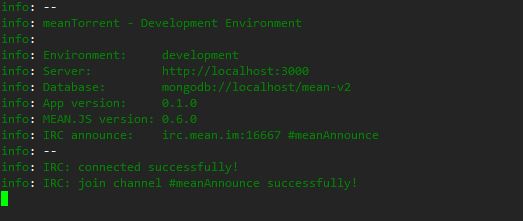
现在你就可以尝试用开发模式运行meanTorrent了:
npm start
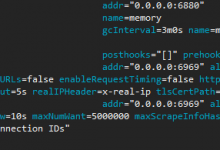
如果一切正常,那么会回显给你类似如下图的信息:
我们先键盘组合键Ctrl+C退出来,接着部署meanTorrent生产环境所需的东西。
首先我建议安装一个adminMongo,这是一个可视化的Mongodb数据库管理工具,就类似于phpMyAdmin,我想大家都知道phpMyAdmin是有多么的方便,由于meanTorrent是使用的Mongodb,我们并不熟悉这个数据库类型,所以这里我们可以借助adminMongo来轻松的维护meanTorrent后期在生产过程中所遇到的数据库相关问题。
安装adminMongo非常简单,几条命令就可以解决,首先我们使用screen创建一个新的会话:
screen -S db
在这个新会话中执行如下命令:
cd
git clone https://github.com/mrvautin/adminMongo.git && cd adminMongo
npm install
npm start
adminMongo应该就运行成功了,但是这个工具它默认是监听的本地1234端口,我们想要访问的话,有两个方法:
1.建立一个SSH隧道
2.反向代理
这里我选择使用反向代理,反正待会meanTorrent也需要反向代理,所以现在我们使用键盘组合键Ctrl+A+D切出来。
现在安装Nginx,用于反向代理,新建一个源:
vi /etc/yum.repos.d/nginx.repo
写入:
[nginx]
name=nginx repo
baseurl=http://nginx.org/packages/centos/7/$basearch/
gpgcheck=0
enabled=1
然后yum安装:
yum -y install nginx
启动Nginx以及设置开机启动:
systemctl start nginx
systemctl enable nginx
新建一个Nginx站点配置文件:
vi /etc/nginx/conf.d/db.conf
写入:
server {
    listen       12345;
    server_name  你的服务器公网IP;

location / {
    proxy_pass       http://0.0.0.0:1234;
    proxy_set_header Host      $host;
    proxy_set_header X-Real-IP $remote_addr;
    proxy_set_header Upgrade   $http_upgrade;
    proxy_set_header Connection "upgrade";
    proxy_http_version         1.1;
    proxy_redirect             off;
    proxy_set_header X-Forwarded-For $proxy_add_x_forwarded_for;
    }
}
重启Nginx:
systemctl restart nginx
现在访问你的服务器公网IP+端口12345应该可以访问到这个adminMongo的界面了:

要使用adminMongo连接我们的数据库也很简单,Connection name随便定义一个名字,然后Connection string填写如下内容:
mongodb://127.0.0.1:27017
连接成功后,你就可以管理Mongodb内的数据了:
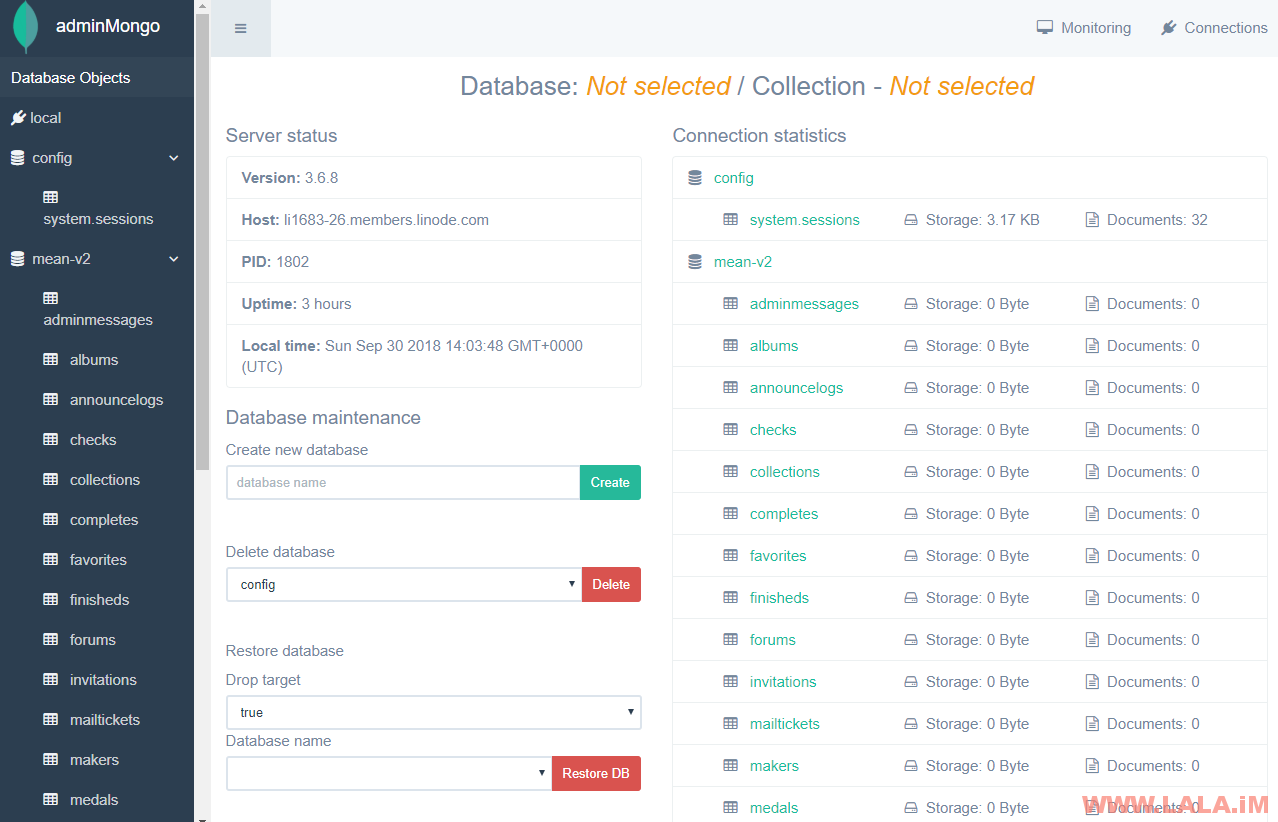
我们需要注意的是这个可视化工具没有账号/密码验证设置,各位在使用完毕之后务必停止adminMongo的运行。或者在Nginx配置文件内加上访问密码的设置,这里就不做说明了,我这边反正是使用完就停止运行。要停止adminMongo的运行,你应该先Ctrl+C退出运行,然后Ctrl+A+D切回我们当前的shell。
接着我们再新建一个站点配置文件,这个用于meanTorrent的反向代理:
vi /etc/nginx/conf.d/pt.conf
写入:
server {
    listen       80;
    server_name  你的站点域名;

location / {
    proxy_pass       http://127.0.0.1:3000;
    proxy_set_header Host      $host;
    proxy_set_header X-Real-IP $remote_addr;
    proxy_set_header Upgrade   $http_upgrade;
    proxy_set_header Connection "upgrade";
    proxy_http_version         1.1;
    proxy_redirect             off;
    proxy_set_header X-Forwarded-For $proxy_add_x_forwarded_for;
    }
}
然后重启Nginx:
systemctl restart nginx
现在你应该编辑生产环境所需的配置文件:
cd /root/meanTorrent
vi config/env/production.js
在这个配置文件,你必须要修改发信设置,因为meanTorrent强制用户注册必须要验证邮件,之前要你们准备的Gmail邮箱在这里就体现出作用了:
  mailer: {
    from: process.env.MAILER_FROM || 'admin@lala.im',
    options: {
      service: process.env.MAILER_SERVICE_PROVIDER || 'service name like as: Gmail',
      imap: process.env.MAILER_IMAP || 'imap.gmail.com',
      auth: {
        user: process.env.MAILER_EMAIL_ID || 'example@gmail.com',
        pass: process.env.MAILER_PASSWORD || 'mail password'
      }
    }
  },
接着你应该编辑这个配置文件,在这个配置文件内几乎包含了meanTorrent的所有可选设置:
vi config/env/torrents.js
我个人认为在这个配置文件内,你至少应该更改如下设置:
    app: {
      name: '站点名字',
      domain: 'http://你的站点域名',
      admin: '管理员邮箱',
      showDemoWarningPopup: false,
      cronTimeZone: 'Asia/Shanghai',
      dbTimeZone: 480,
      showClientDebugLog: true,
      writeServerDebugLog: true
    },
接着往下翻还有Tracker服务器的地址:
    announce: {
      url: 'http://你的站点域名/announce',
默认首页有一段测试账号密码的文字,你应该找到这个选项关闭:
showDemoSignMessage: false,
还有更多的自定义设置,各位自行参考这个项目的主页或者wiki,这里就不多做说明了。
现在使用screen新建一个会话:
screen -S pt
在新会话内执行如下命令,启动meanTorrent的生产模式:
npm run start:prod
然后你应该Ctrl+A+D退出当前会话,这样meanTorrent就在后台运行了。
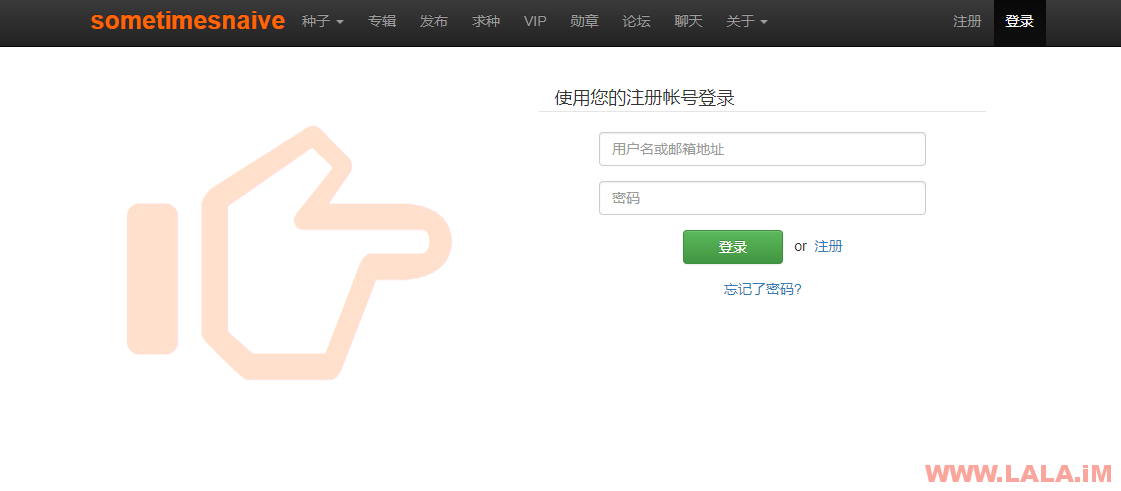
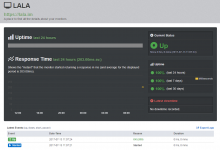
不出意外,meanTorrent现在可以正常访问:
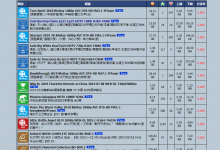
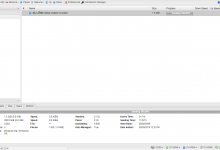
登录进去的样子,还行:
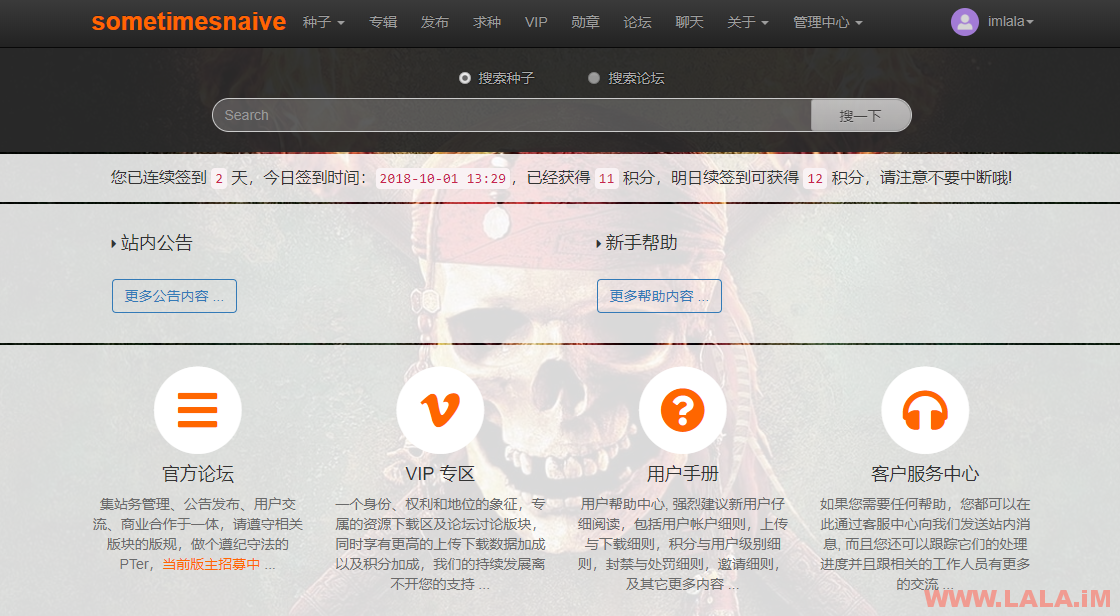
种子界面:

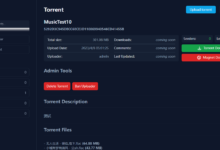
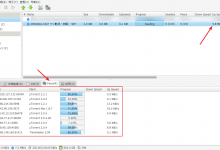
我发了一个种子进行测试:
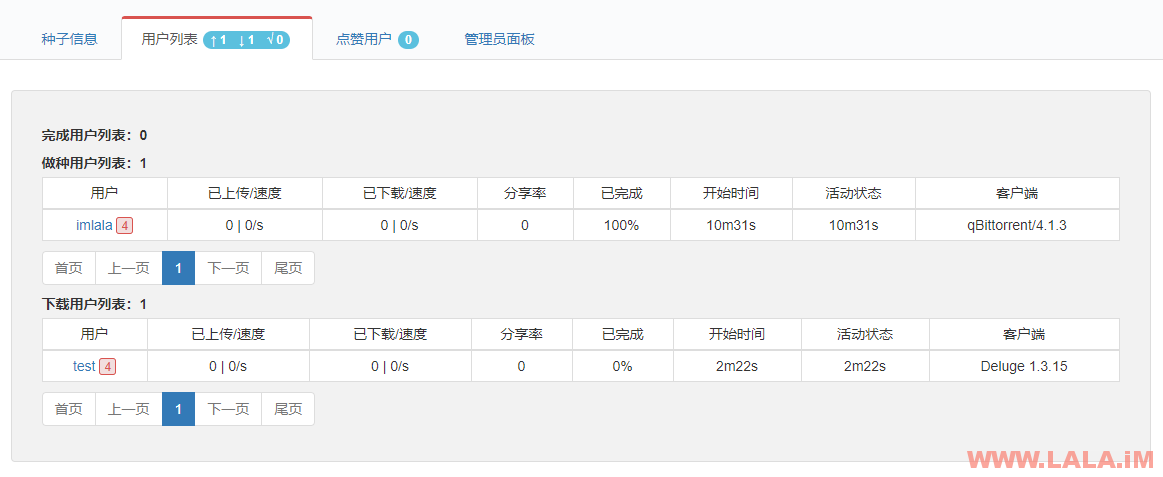
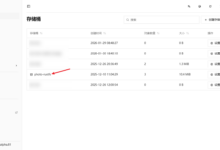
功能正常:
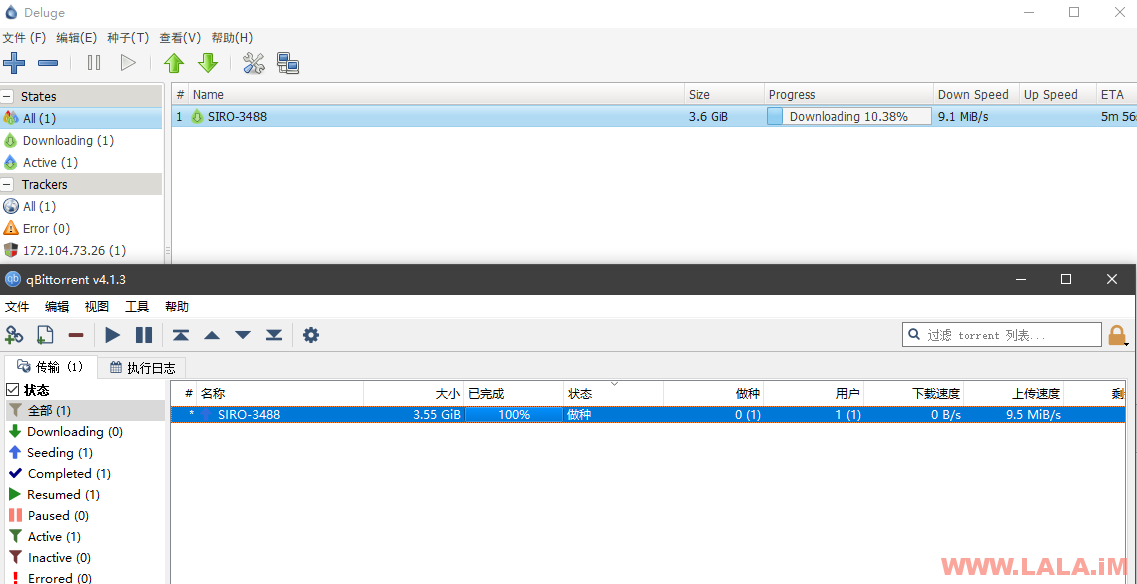
 荒岛
荒岛





demo网站标题过于暴力!
看来我还是要学习一个
如果能用宝塔搭建就更好了
公网ip:12345 访问502什么鬼 怎么搞?
adminMongo不是必须要装的,既然你装不起来就跳过继续下一步吧,这个不影响。
装好了 1234端口问题 感谢老哥教程

账号密码是啥
第一个注册的用户默认管理员。
邮件发送问题一直没解决。博主可以更新一下邮件发送的具体设置吗?
设置就是文章里面写的那段,没什么特别的了。用国外服务器配置就行,国内应该是用不了Gmail的。
大佬您太客气了,山寨币那个您技术上肯定是没有问题

大佬,可不可以出个一键脚本

这个..这个..恐怕有点难,这个程序需要的东西太多了,jio本不是很好写。。
官方有Docker,你可以用Docker装。
哈哈好的大佬,我超喜欢你这个站
大佬,顺便再问下,能出个btmaster的教程不
老哥,为什么你总是喜欢搭建这些特别老的程序。。。而且btmaster外面流出的版本是全文件都加密,你确定用这样的程序做站放心吗?
哈哈还真不是太放心,我看用大佬发的那个nyaa代替btmaster也是极好的

最后一个请求,大佬,能不能出个山寨币、数字币的制作教程,就是通过修改比特币源代码自己编译制做山寨币的教程,能出一个吗
= =我研究一下吧,恐怕是不行,我技术估计不够。。。
大佬您太客气了,山寨币那个您技术上肯定是没有问题

你好,问下这个可以存视频吗,然后用链接方式发到视频网站上让会员看么
不能
大佬,你知道为了找到这篇原创一手文章我费了多少周折吗?终于找到了,我算是勉强安装成功了吧,但是在加ssld的时候出错了,用cloudflare的话没有成功,可能是没有配置nginx站点配置文件?用官方的npm run generate-ssl-certs命令之后生成key和crt后是不是还要做别的呢?编辑default吗?编辑了以后重启nginx失败,难受了。。。希望能得到大佬的解答,万分感谢。
直接用cloudflare的SSL证书就行了吧,我配置的时候本地nginx是没有加载SSL证书的。
是需要把key和crt放在指定文件夹下并在nginx配置文件上加server吗?以前的PHP站点直接都是在cloudflare操作就可以,简单的很,这个还真不行,访问不了。大佬能留个tg联系方式请教指点一下吗?非常感谢?!
您用cloudfare直接就https访问了?本地就没管吗?production.js得设置一下吧?这太神奇了,我怎么就没成呢。
请问下adminmongo应该如何停止呢

查看进程号:screen -ls
停止:screen -S 进程号 -X quit
能通过smtp发信吗,感觉现在开25端口的有点少啊
大佬,能不能发篇文章补充说明下邮箱发件配置啊,我搭建了好几遍,每次都是发件失败,谷歌邮箱后台也开了imap服务,希望可以贴出你的配置看看
Gmail账号开启:允许安全性较低的应用访问您的帐号
已经开启,请问我这样配置是否正确
mailer: {
from: process.env.MAILER_FROM || ‘我的邮箱账号’,
options: {
service: process.env.MAILER_SERVICE_PROVIDER || ‘Gmail’,
imap: process.env.MAILER_IMAP || ‘imap.gmail.com’,
auth: {
user: process.env.MAILER_EMAIL_ID || ‘邮箱账号’,
pass: process.env.MAILER_PASSWORD || ‘mail password’
}
}
},
邮箱账号是邮箱+@gmail.com全称,完整的邮箱地址。如果你是这样配置的那就是正确的,还不行的话,我也没办法了。
是全称,就是发送不了,卡好多天了
你可以重新写一下那个配置文件给我看看吗?
我现在没有用这个程序了。。当初也只是搭建了玩了一下。。
大佬。有没有别的PT程序
You skipped the torrent process, the most important thing, how to copy the torrent and send it, how to open the doors … you skipped many important procedures.
This article describes the installation process, what you said is not within the scope of the installation
I think this article is copied from another site, I accept the shares but … unfortunately I’m not a child and I won’t burn in hell like you, logically the “how” will have a meaning, lol …. so I ask you … are you really up to calling me baby? I do not think so.
No, I wrote this article.
My blog will not copy any articles from other websites
I will call you baby because you are really cute
https://github.com/Mosasauroidea/GazellePW
数次尝试安装失败…拜托了!
我有空看看
这个开源项目个斑马也不写详细点..反正我折腾好几次都没成功.
没有,最近太忙了,要不你看看这个项目,sqtracker的fork:https://github.com/EFFXCT290/NexusTracker
sqtracker停摆了.gpw我也研究投了..unit3d也折腾了.没有一个合心意的
现在最有潜力的应该是这个了:https://github.com/Arcadia-Solutions/arcadia
或者用比较老的:https://github.com/xiaomlove/nexusphp