
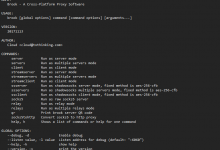
Juicity是一个基于quic的代理协议,更多介绍可移步项目地址查看:https://github.com/juicity/juicity
系统我使用的Debian12,安装需要用到的软件包:
apt -y update
apt -y install wget unzip uuid-runtime nginx python3-certbot-nginx
下载对应架构的压缩包,这里我是arm64:
wget https://github.com/juicity/juicity/releases/download/v0.3.0/juicity-linux-arm64.zip
unzip juicity-linux-arm64.zip -d juicity
cd juicity
把juicity-server复制到/usr/local/bin:
cp juicity-server /usr/local/bin
新建一个目录用于存放juicity的配置文件:
mkdir /etc/juicity
新建juicity的配置文件:
nano /etc/juicity/server.json
写入如下配置:
{
    "listen": ":23182",
    "users": {
        "5075556a-13df-4d6a-aa14-4747040bb7e5": "password"
    },
    "certificate": "/etc/letsencrypt/live/juicity.example.com/fullchain.pem",
    "private_key": "/etc/letsencrypt/live/juicity.example.com/privkey.pem",
    "congestion_control": "bbr",
    "disable_outbound_udp443": true,
    "log_level": "info"
}
其中UUID可使用如下命令生成:
uuidgen
新建systemd服务:
nano /etc/systemd/system/juicity-server.service
写入如下配置:
[Unit]
Description=juicity-server Service
Documentation=https://github.com/juicity/juicity
After=network.target nss-lookup.target

[Service]
Type=simple
ExecStart=/usr/local/bin/juicity-server run -c /etc/juicity/server.json --disable-timestamp
Restart=on-failure
LimitNPROC=512
LimitNOFILE=infinity

[Install]
WantedBy=multi-user.target
设置开机自启:
systemctl enable juicity-server.service
接下来需要申请一个SSL证书,这里我用Certbot和NGINX来完成。
新建一个NGINX站点配置文件:
nano /etc/nginx/sites-available/juicity
写入如下配置:
server {
    listen 80;
    server_name juicity.example.com; // 修改成你的域名
}
启用站点:
ln -s /etc/nginx/sites-available/juicity /etc/nginx/sites-enabled/juicity
签发SSL证书:
certbot --nginx
再次编辑juicity的配置文件:
nano /etc/juicity/server.json
将证书和私钥路径修改成刚申请的:
{
...
    "certificate": "/etc/letsencrypt/live/juicity.example.com/fullchain.pem",
    "private_key": "/etc/letsencrypt/live/juicity.example.com/privkey.pem",
...
}
启动juicity服务:
systemctl start juicity-server.service
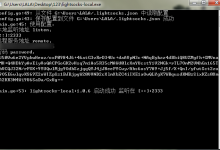
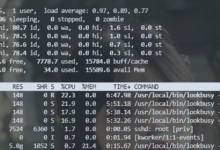
确保juicity服务正常运行:
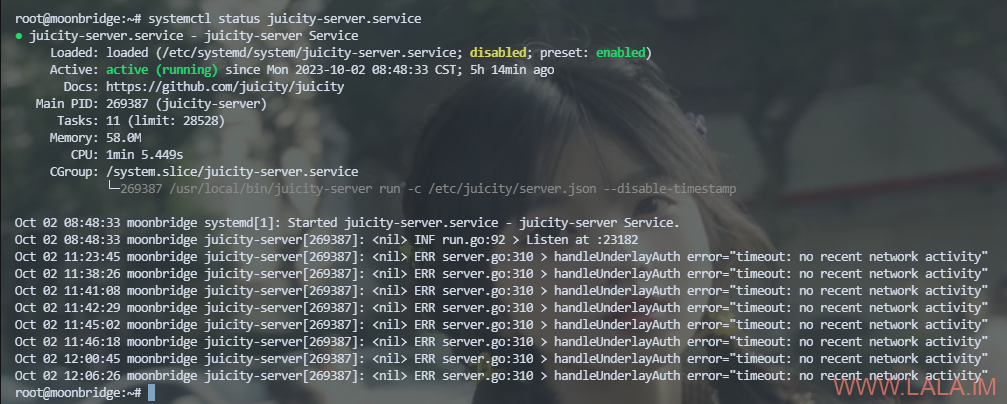
至此,juicity服务端配置完成。接下来是客户端的配置。
在这里下载对应系统的压缩包:
https://github.com/juicity/juicity/releases
例如我使用Windows X64则下载:
https://github.com/juicity/juicity/releases/download/v0.3.0/juicity-windows-x86_64.zip
解压压缩包里面的文件到一个文件夹内。
在同一个文件夹内新建一个客户端配置文件,例如client.json,写入如下配置:
{
    "listen": ":1080",
    "server": "server ip:23182", // server ip修改为你的服务器IP
    "uuid": "5075556a-13df-4d6a-aa14-4747040bb7e5", // 对应服务端的UUID
    "password": "password", // 对应服务端的密码
    "sni": "juicity.example.com", // 申请证书时使用的域名
    "allow_insecure": false,
    "congestion_control": "bbr",
    "log_level": "info"
}
打开PowerShell运行juicity客户端:
./juicity-client.exe run -c client.json
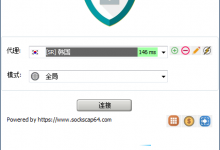
现在已经可用了,juicity在1080端口起了一个HTTP/Socks5服务,将需要使用代理的程序配置使用这个服务即可。
[可选]配置sing-box使用juicity,实现分流、TUN透明代理等高级功能。下面是一个sing-box的示例配置:
{
  "log": {
    "level": "info",
    "timestamp": true
  },
  "dns": {
    "servers": [
      {
        "tag": "cloudflare",
        "address": "https://1.1.1.1/dns-query"
      },
      {
        "tag": "dnspod",
        "address": "https://1.12.12.12/dns-query",
        "detour": "direct"
      },
      {
        "tag": "block",
        "address": "rcode://success"
      }
    ],
    "rules": [
      {
        "geosite": "cn",
        "server": "dnspod"
      },
      {
        "geosite": "category-ads-all",
        "server": "block",
        "disable_cache": true
      }
    ]
  },
  "inbounds": [
    {
      "type": "tun",
      "tag": "tun-in",
      "interface_name": "singbox-tun",
      "inet4_address": "172.20.0.1/30",
      "auto_route": true,
      "strict_route": true,
      "stack": "system",
      "sniff": true
    }
  ],
  "outbounds": [
    {
      "type": "socks",
      "tag": "socks-out",
      "server": "127.0.0.1",
      "server_port": 1080,
      "version": "5"
    },
    {
      "type": "direct",
      "tag": "direct"
    },
    {
      "type": "block",
      "tag": "block"
    },
    {
      "type": "dns",
      "tag": "dns"
    }
  ],
  "route": {
    "rules": [
      {
        "protocol": "dns",
        "outbound": "dns"
      },
      {
        "geosite": "cn",
        "geoip": [
          "cn",
          "private"
        ],
        "outbound": "direct"
      },
      {
      	"process_name": "juicity-client.exe",
      	"outbound": "direct"
      },
      {
        "geosite": "category-ads-all",
        "outbound": "block"
      }
    ],
    "auto_detect_interface": true
  }
}
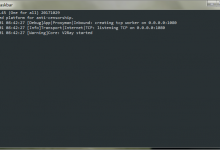
用管理员权限打开PowerShell运行sing-box:
./sing-box.exe run -c juicity-tun.json


老哥可以试试tuic+upd_over_stream,效果比juicity好