
在装LNMP环境这块,总有很多人觉得WEB面板不靠谱,甚至还有部分人觉得LNMP一键包也不靠谱。
其实我觉得吧,有更好的东西摆在你面前的时候,不妨先放下自己的偏见去尝尝鲜。比如我自己一开始也觉得宝塔这个面板不怎么样,后来越用就越觉得好用。。。好吧,这里又强行给宝塔广告了一波。。。
如果你实在是不放心用这种现成的一键包或是面板来装LNMP环境,那就可以自己手动来装。这篇教程就献给各位想折腾又不怕麻烦的朋友们吧~
本教程写于2018年2月8日,安装的各项软件均为目前较新的版本。详细版本号如下:
Nginx1.12.2
MySQL5.7
PHP7.2.1
phpMyAdmin4.7.7
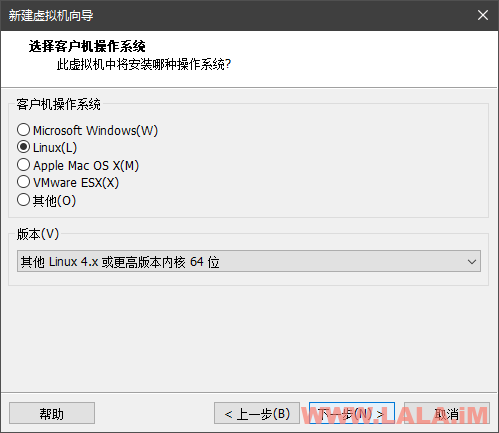
准备工作:一台VPS系统安装CentOS7X64,使用Xshell以root用户的身份登录到你的机器内。注意你的系统最好是用精简版,别用那种自带Apache的,容易出问题。
1、安装Nginx:
新建repo源:
vi /etc/yum.repos.d/nginx.repo
写入如下内容:
[nginx]
name=nginx repo
baseurl=http://nginx.org/packages/centos/7/$basearch/
gpgcheck=0
enabled=1
保存,然后就可以用yum来安装nginx了:
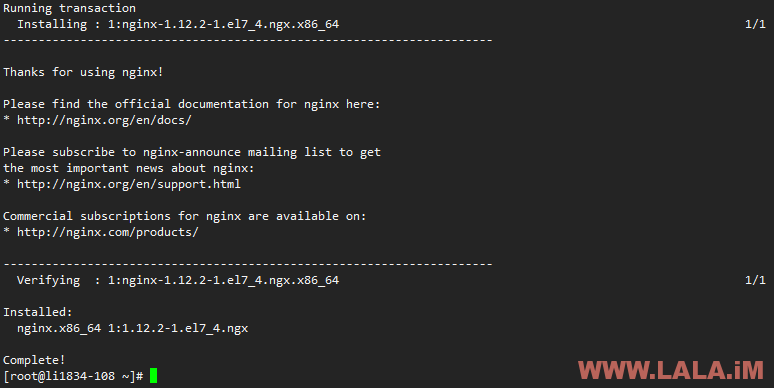
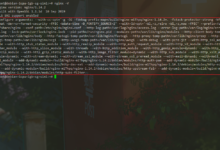
yum -y install nginx
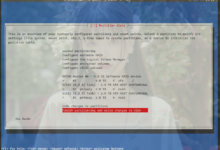
安装成功后如图所示:
2、安装MySQL:
新建repo源:
vi /etc/yum.repos.d/mysql-community.repo
写入如下内容:
[mysql57-community]
name=MySQL 5.7 Community Server
baseurl=http://repo.mysql.com/yum/mysql-5.7-community/el/7/$basearch/
enabled=1
gpgcheck=0
gpgkey=file:///etc/pki/rpm-gpg/RPM-GPG-KEY-mysql
保存,然后就可以用yum来安装mysql了:
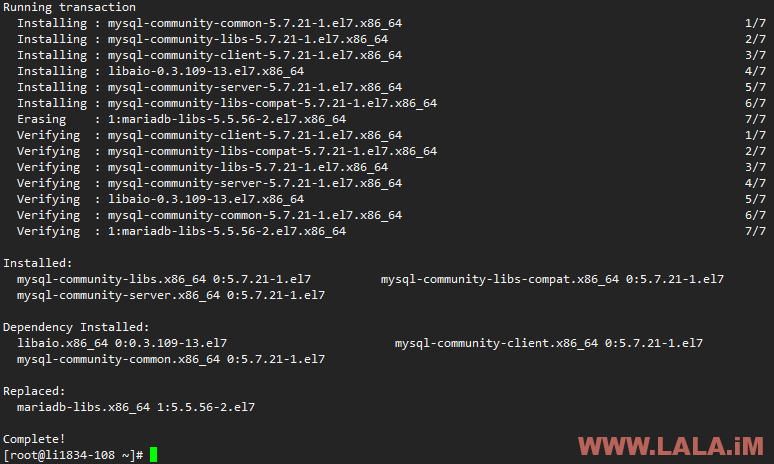
yum -y install mysql-community-server
安装完成后如图所示:
3、安装PHP:
安装EPEL源:
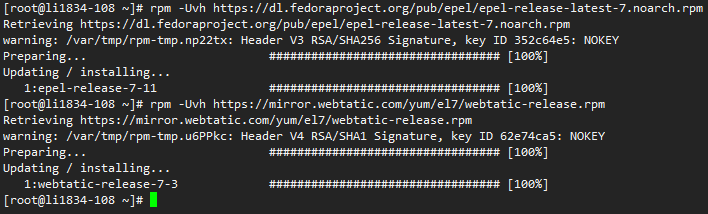
rpm -Uvh https://dl.fedoraproject.org/pub/epel/epel-release-latest-7.noarch.rpm
安装webtatic源:
rpm -Uvh https://mirror.webtatic.com/yum/el7/webtatic-release.rpm
这两个源安装完成后如图所示:
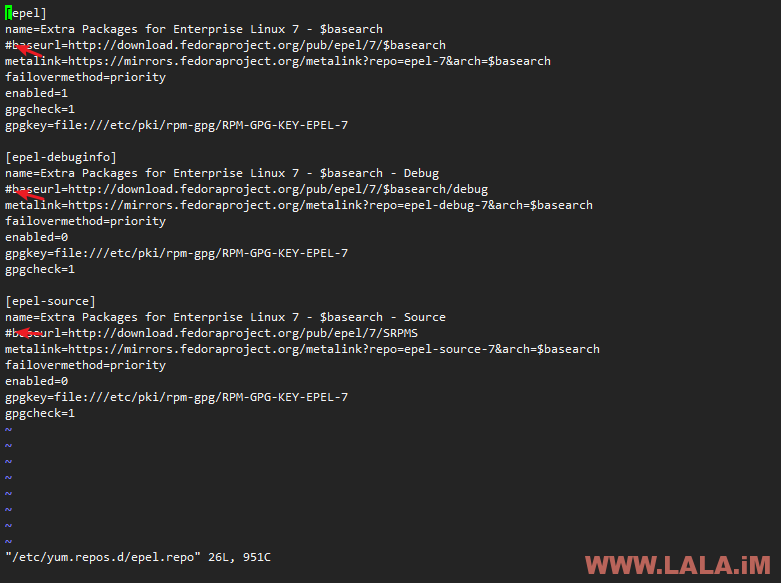
某些机器上这个EPEL源可能会有点问题,所以我们修改一下这个源防止后续安装出现问题:
vi /etc/yum.repos.d/epel.repo
把baseurl前面的#号去掉,如图所示:
现在就可以使用yum来安装php了:
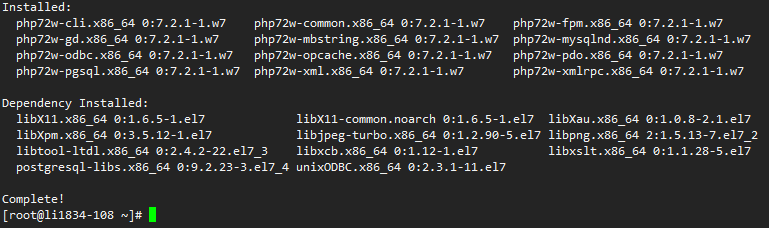
yum -y install php72w-fpm php72w-cli php72w-common php72w-gd php72w-mysqlnd php72w-odbc php72w-pdo php72w-pgsql php72w-xmlrpc php72w-xml php72w-mbstring php72w-opcache
注:更多安装包名(PHP组件)可以浏览:https://webtatic.com/packages/php72/
安装完成后如图所示:
4、启动Nginx/MySQL/PHP以及设置开机自启动。
启动:
systemctl start nginx
systemctl start mysqld
systemctl start php-fpm
设置开机自启动:
systemctl enable nginx
systemctl enable mysqld
systemctl enable php-fpm
查看当前Nginx/MySQL/PHP的运行状态:
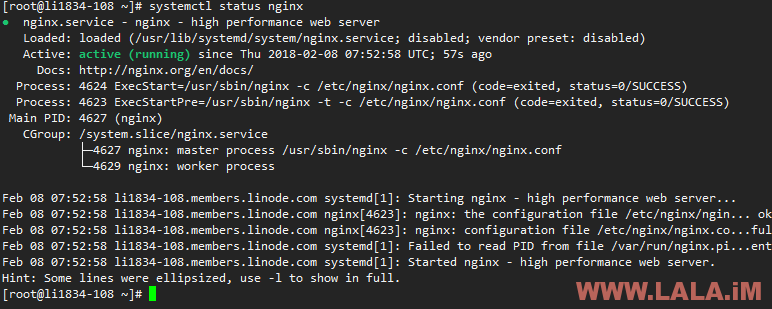
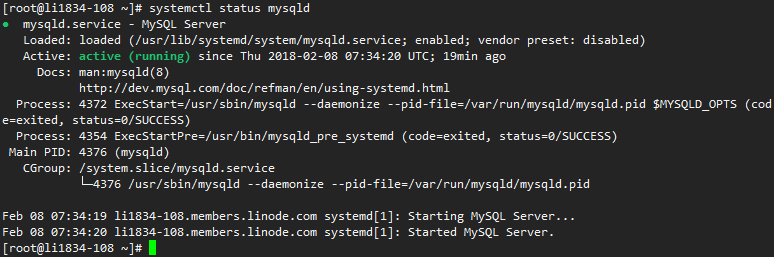
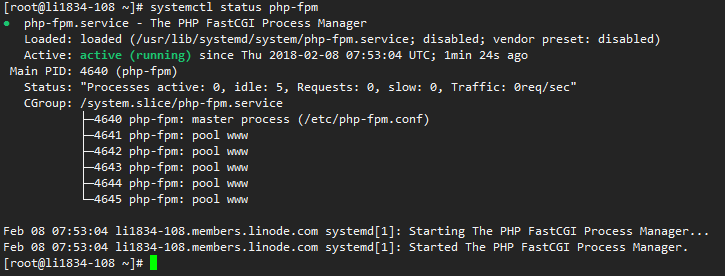
systemctl status nginx
systemctl status mysqld
systemctl status php-fpm
确保都是如下三图的Actice状态:
Nginx运行正常:
MySQL运行正常:
PHP运行正常:
5、进行各项软件的详细的配置,也可以说是填坑吧。。。
首先是MySQL5.7root密码过期的问题。我们必须把MySQL初始设置的密码进行修改,否则某些程序无法连接数据库。
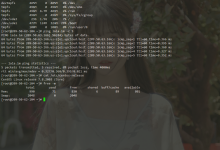
查看MySQL的初始随机密码:
grep 'temporary password' /var/log/mysqld.log
回显如图,打马赛克的地方就是密码,你们复制记住自己的:

输入如下命令:
mysqladmin -u root -p password
粘贴你之前复制的密码,然后回车,会提示让你设置一个新的密码,修改完成后如图所示:

重启MySQL:
systemctl restart mysqld
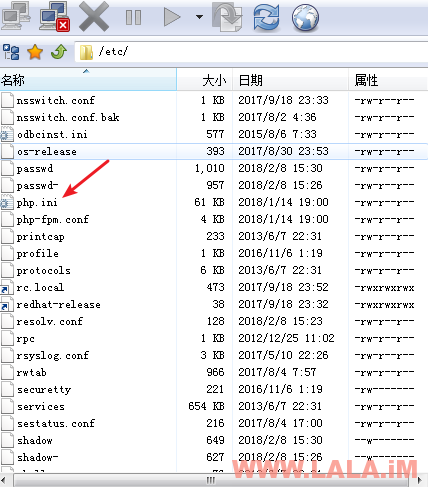
接着是PHP的一系列坑,首先用FlashFXP以SFTP的方式登录到你的机器内。
找到如下路径:
/etc/php.ini
把这个php.ini下载到本地,然后用专业一点的编辑器打开,别用记事本!
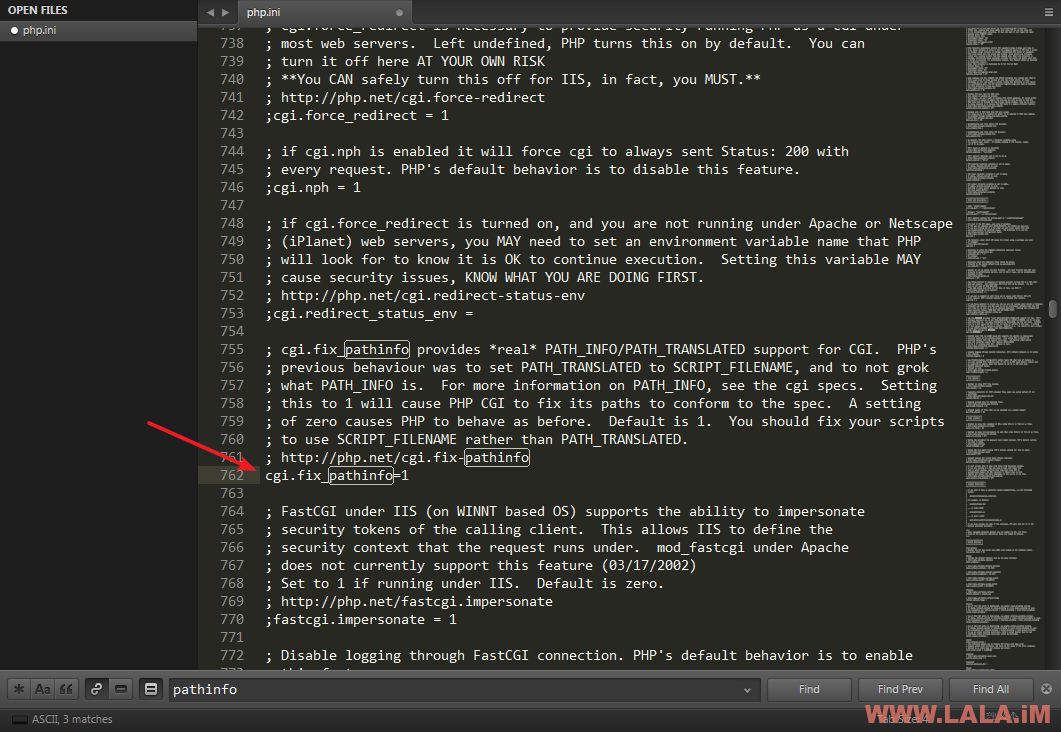
首先要打开PHP的Pathinfo,在这个文件的762行,把前面的分号去掉:
接着我们装的这个PHP7.2有Session的问题,要修复一下。找到1264行,去掉分号:

然后回到Xshell中,用下面的命令新建一个session目录:
mkdir /var/lib/php/session
进入到/var/lib/php目录:
cd /var/lib/php
给刚新建的session目录777权限:
chmod -R 777 session
回到我们的电脑编辑器内,继续修改php.ini。
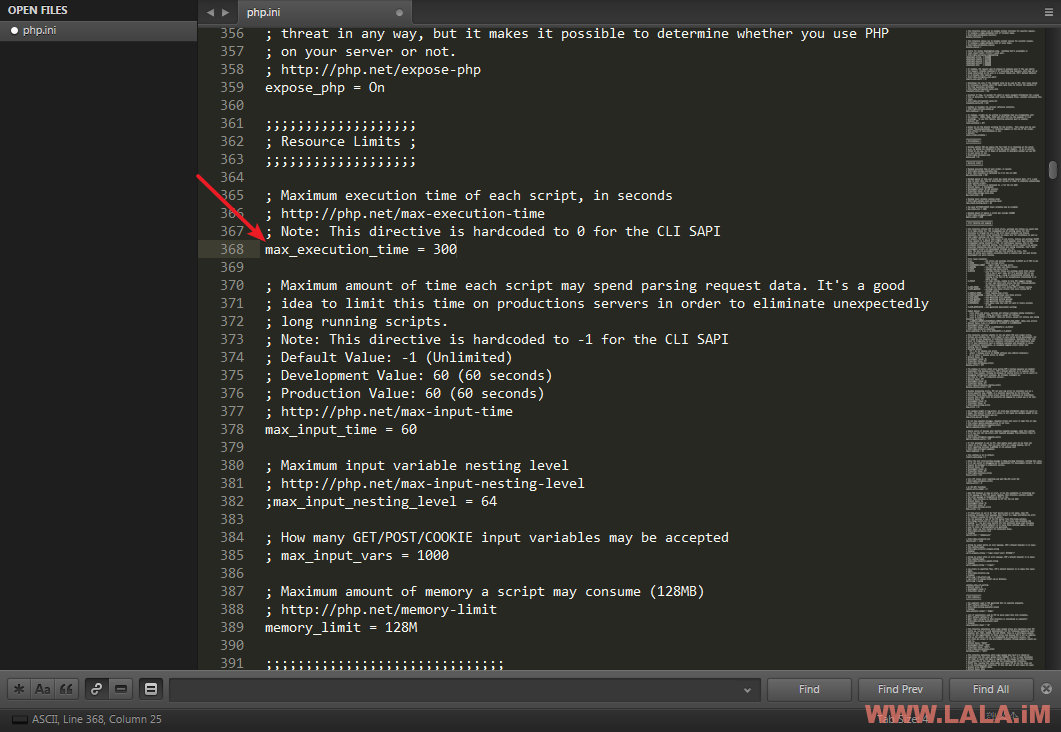
这次是进行一些PHP设置上的优化。首先是超时时间要改大一些,找到368行,将后面的值改为300:
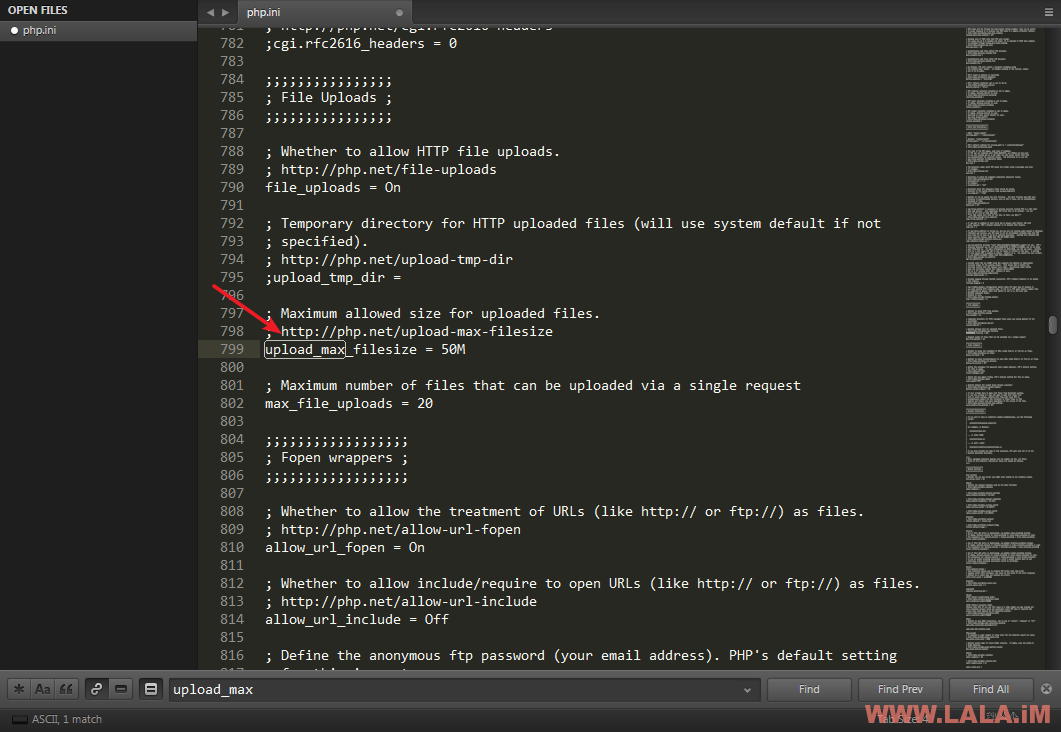
接着是文件的上传大小,改大一点,方便日后使用。799行将后面的值改成一个你想要的:
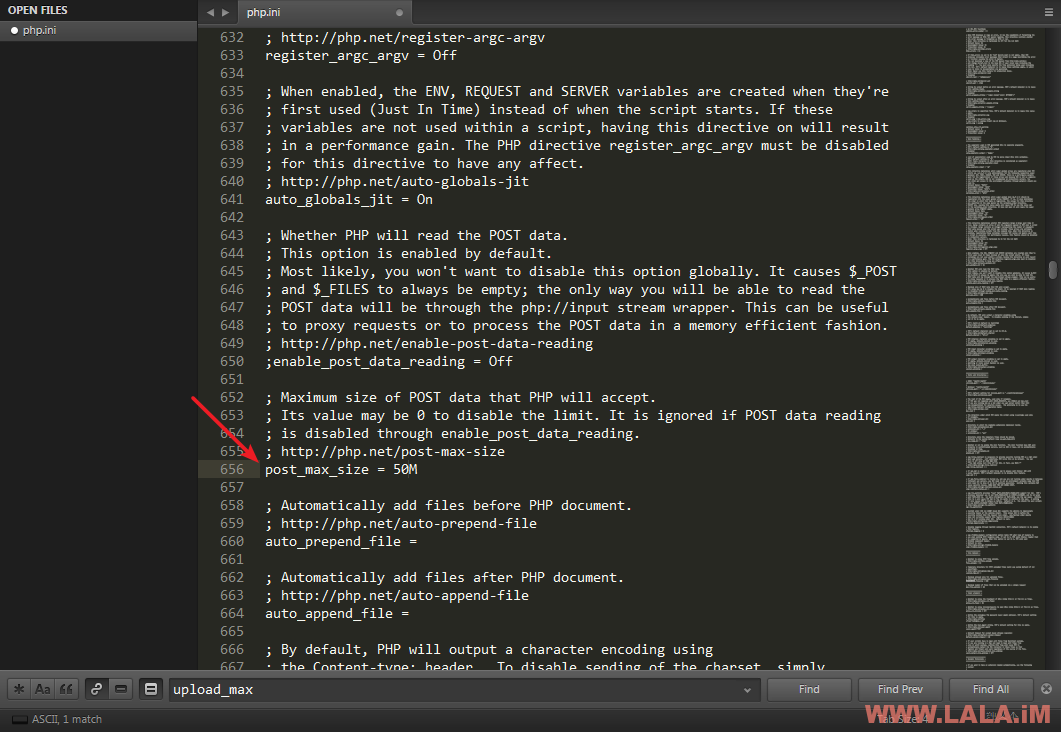
POST提交的值也要改大一点,656行后面的值改成你想要的,建议就按我如图的值来设置:
确定上述我说的这些你都做完了后,保存php.ini,然后用FlashFXP上传替换掉我们服务器内之前的php.ini:
回到Xshell中,重启PHP:
systemctl restart php-fpm
6、现在我们来验证一下我们装的这个LNMP环境大体是否正常:
先安装两个工具:
yum -y install unzip
yum -y install lrzsz
然后编辑nginx默认的站点conf:
vi /etc/nginx/conf.d/default.conf
找到default.conf内和我下面发的这段代码相似的地方,然后复制我的替换掉你们的:
location ~ \.php$ {
        root           /usr/share/nginx/html;
        fastcgi_pass   127.0.0.1:9000;
        fastcgi_index  index.php;
        fastcgi_param  SCRIPT_FILENAME  /usr/share/nginx/html$fastcgi_script_name;
        include        fastcgi_params;
    }
如图所示:

确定修改正确后,保存,然后进入到nginx的默认站点目录:
cd /usr/share/nginx/html
使用rz命令上传一个PHP探针文件:
rz
接着重启nginx:
systemctl restart nginx
用浏览器访问你的VPS公网IP+探针文件名,能正常显示就说明我们的环境搭建正常:

7、安装phpMyAdmin方便管理MySQL数据库:
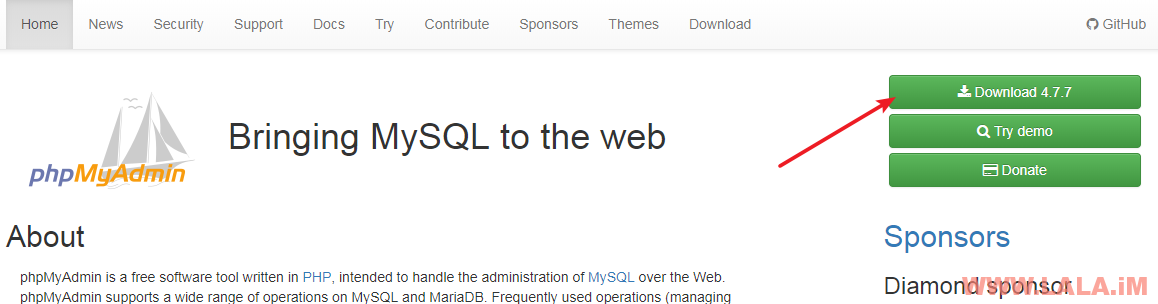
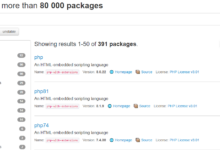
首先访问phpMyAdmin官网:https://www.phpmyadmin.net/
下载当前最新版的phpMyAdmin:
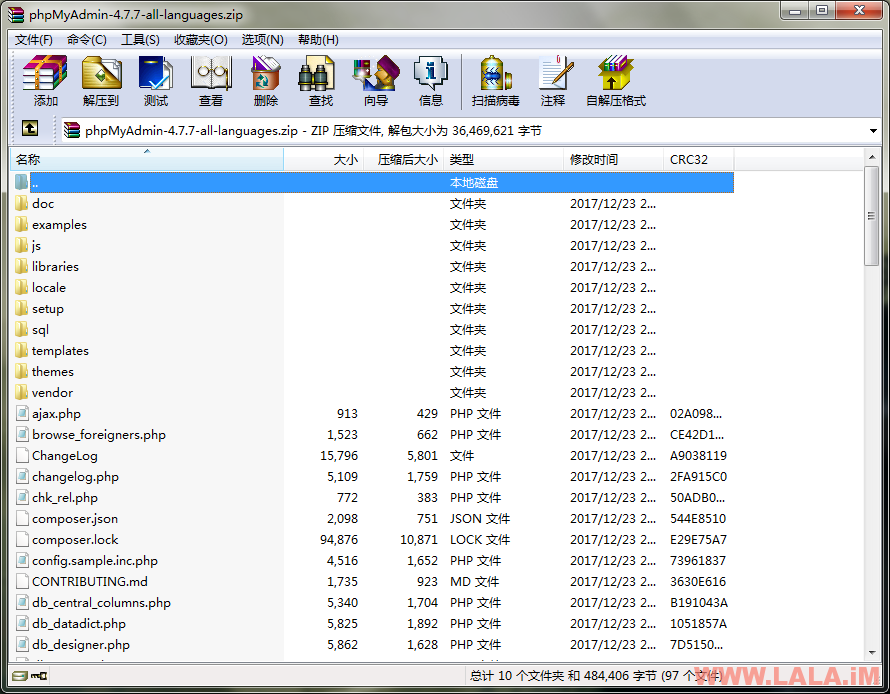
将下载好的phpMyAdmin压缩包解压,然后用不包含根文件夹(phpMyAdmin-4.7.7-all-languages)的形式重新压缩一次,压缩完成后,首次用解压缩软件打开的结构目录应该如下图这样的:
回到Xshell中,新建一个phpMyAdmin目录:
cd /usr/share/nginx/
mkdir phpmyadmin
进入到这个目录内使用rz命令上传我们刚压缩好的phpMyAdmin压缩包:
cd phpmyadmin
rz
上传完成后解压:
unzip phpMyAdmin-4.7.7-all-languages.zip
接着新建一个nginx的conf:
vi /etc/nginx/conf.d/phpmyadmin.conf
写入如下配置内容:
server {
    listen       2333;
    server_name  172.105.192.108;

    #charset koi8-r;
    #access_log  /var/log/nginx/host.access.log  main;

    location / {
        root   /usr/share/nginx/phpmyadmin;
        index  index.html index.htm index.php;
    }

    location ~ \.php$ {
        root           /usr/share/nginx/phpmyadmin;
        fastcgi_pass   127.0.0.1:9000;
        fastcgi_index  index.php;
        fastcgi_param  SCRIPT_FILENAME  /usr/share/nginx/phpmyadmin$fastcgi_script_name;
        include        fastcgi_params;
    }

}
注:server_name后面的值改成你们的VPS公网IP或是域名。listen是监听的端口号,由于phpMyAdmin并不是一个网站程序,而是一个数据库管理工具,为了安全最好是不要让人轻易访问到,所以我把端口号修改成了2333。
接着我们重启nginx:
systemctl restart nginx
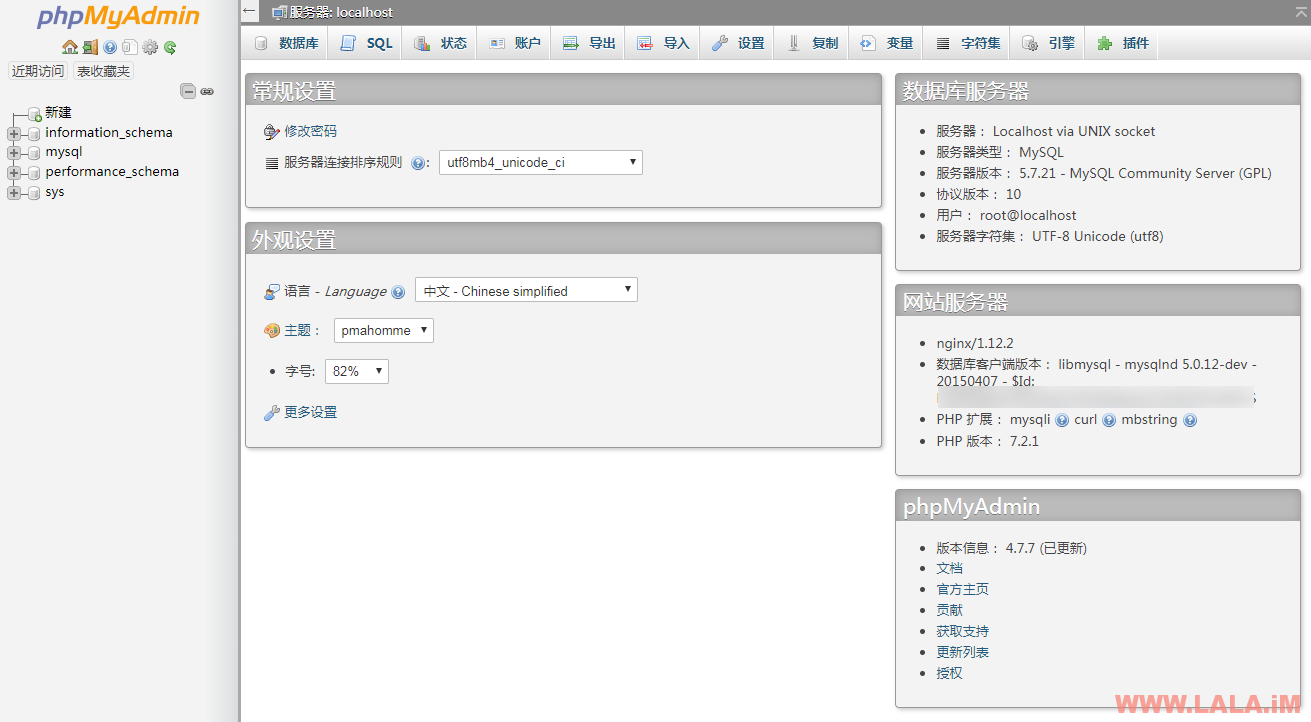
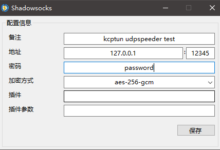
现在用浏览器尝试访问一下,应该就能看到phpMyAdmin的登录界面了:
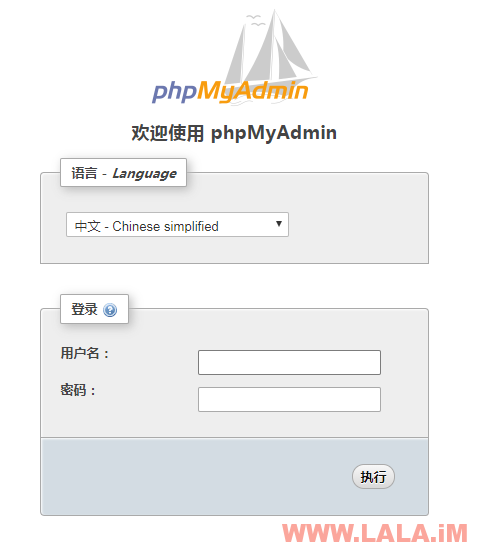
登录账号:root
登录密码:你自己之前修改的数据库root密码
尝试登录,看看能否登录成功:
至此,我们的LNMP环境就基本搭建完成了,但是我们还不能确定这个环境是否有其他问题,所以为了确保我们的环境是能够正常跑程序的,这里LALA就用我们现在装的这个环境来安装一个WordPress。看看WordPress能不能正常跑起来。
8、配置安装WordPress
下载WordPress程序到nginx的站点文件目录:
yum -y install wget
cd /usr/share/nginx/
wget https://cn.wordpress.org/wordpress-4.9.4-zh_CN.zip
解压:
unzip wordpress-4.9.4-zh_CN.zip
将wordpress这个目录的所有者改为apache:
chown -R apache:apache /usr/share/nginx/wordpress
注:你没有看错,这里就是要把用户改成apache。
Q:你装的明明是nginx哪里来的apache?
A:因为我们之前是用webtatic这个源安装的php7.2,而php-fpm默认就是用apache这个用户来跑的,不论你的机器内是否安装了apache这个软件,php-fpm都运行在apache这个用户下。说白了也就是这里的apache只是一个用户名,它不是真的apache服务软件。
Q:为什么要把目录的所有者改成apache?
A:因为权限问题,如果你不更改WordPress站点目录的所有者,接下来你在WordPress上安装插件或是安装主题都会提示要你输入FTP账号密码之类的。我们把所有者改了后就可以解决这类问题。
现在我们来配置WordPress的伪静态,新建一个rewrite目录:
mkdir /etc/nginx/conf.d/rewrite
在此目录下新建一个wordpress.conf:
vi /etc/nginx/conf.d/rewrite/wordpress.conf
写入如下配置内容:
location / {
	try_files $uri $uri/ /index.php?$args;
}
保存,然后新建一个WordPress的conf:
vi /etc/nginx/conf.d/wordpress.conf
写入如下配置内容:
server {
    listen       81;
    server_name  172.105.192.108;

    #charset koi8-r;
    #access_log  /var/log/nginx/host.access.log  main;

    location / {
        root   /usr/share/nginx/wordpress;
        index  index.html index.htm index.php;
        include /etc/nginx/conf.d/rewrite/wordpress.conf;
    }

    location ~ \.php$ {
        root           /usr/share/nginx/wordpress;
        fastcgi_pass   127.0.0.1:9000;
        fastcgi_index  index.php;
        fastcgi_param  SCRIPT_FILENAME  /usr/share/nginx/wordpress$fastcgi_script_name;
        include        fastcgi_params;
    }

}
注:
1、listen我这里用的81端口,因为我是写文章没有解析域名,而之前用探针测试环境的时候就已经用了80口了,所以这里为了避免端口被占用我改成了81,你们正规做站的话肯定是要改成80的。
2、server_name我用的服务器IP,正规做站这里就要改成你的域名,多个域名用空格隔开。
3、注意location/下面我引用了一个include,这个include就是用来加载WordPress伪静态规则的。很多程序都可以用这个方法加载伪静态规则。
最后一步,重启nginx:
systemctl restart nginx
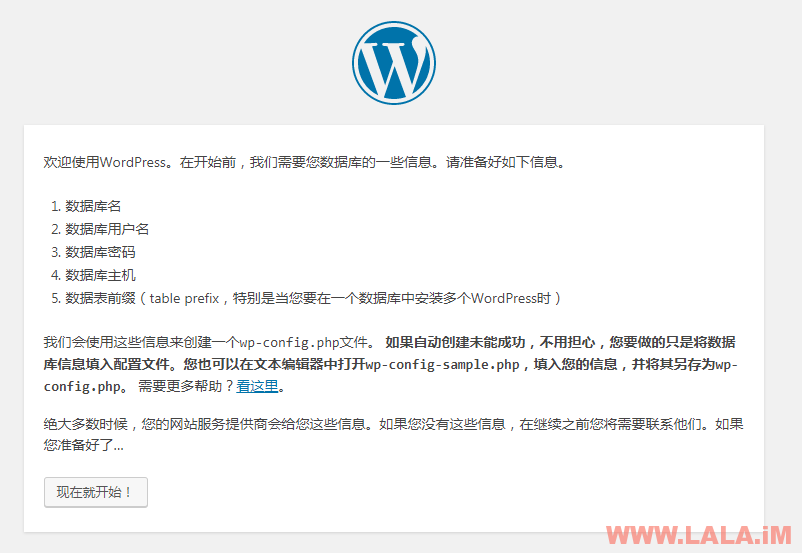
打开浏览器尝试访问一下,可以看到WordPress的欢迎界面了:
在phpMyAdmin内新建一个wordpress数据库:
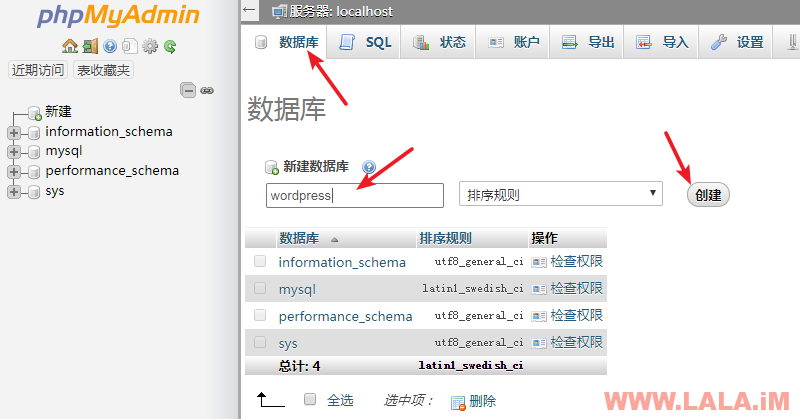
填写数据库信息:
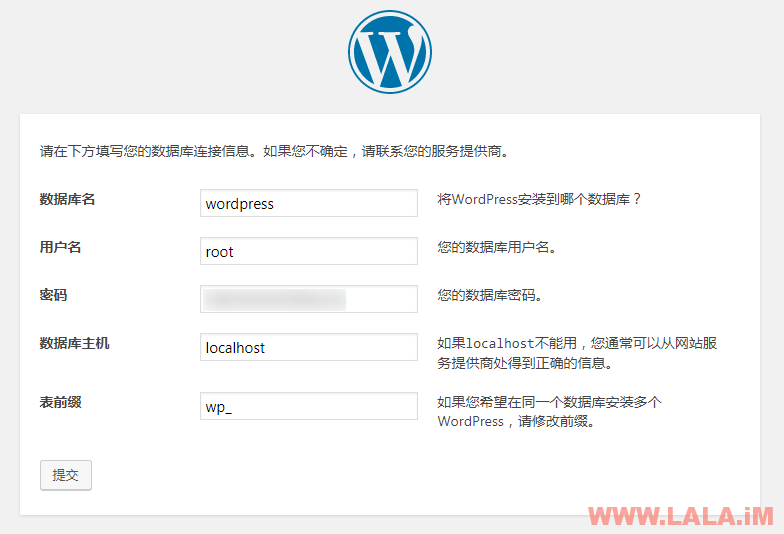
数据库连接成功:

然后就是填写管理员账号密码balabala之类的,就不多说了。
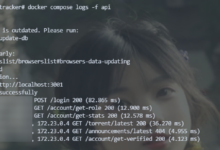
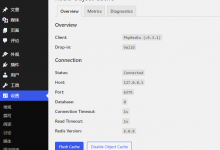
下面是我安装完成后,装了个Comet Cache试试看环境性能如何:
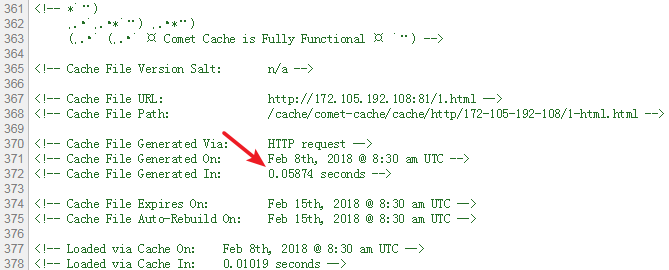
用17测了下速度:
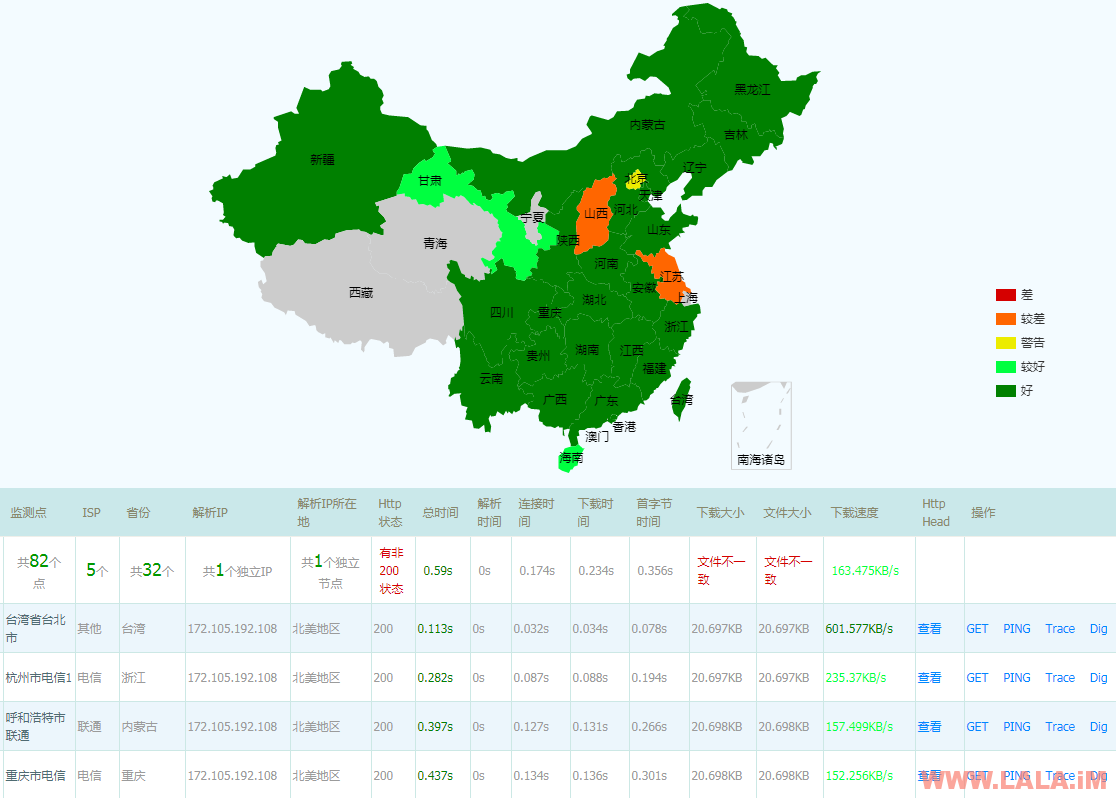
唔,差不多就这样了~
写在最后:
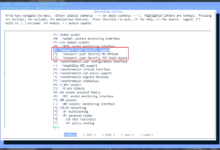
1、额外的小扩展,文章中的nginx默认没开启gzip压缩,开启办法很简单:
编辑nginx主配置文件:
vi /etc/nginx/nginx.conf
去掉如图箭头所指的#号:
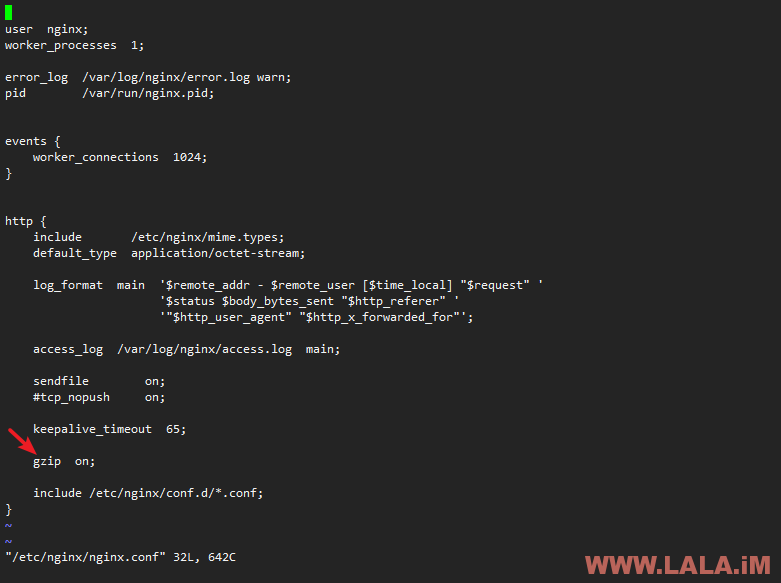
重启nginx:
systemctl restart nginx
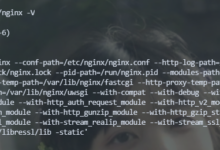
2、Nginx/MySQL/PHP各个软件的配置文件都在哪?都安装在哪里?
rpm -ql nginx
rpm -ql mysql-community-server
rpm -ql php72w-fpm
rpm -ql php72w-common
使用上述命令可以回显给你所有的信息。
一些废话:
在本篇教程中,其实给大家分享了一个很干的干货,就是webtatic源。这个源绝对是来之不易的好源。
再者即便是手动安装各种软件,记住一个宗旨就是能yum安装的就坚决不编译安装,因为编译安装那才是万坑之王。
其次用PHP7记住一定要上Opcache,不上Opcache你和闲鱼有什么区别???


你好,我在vi /etc/nginx/conf.d/phpmyadmin.conf 后来重启nginx报错Job for nginx.service failed because the control process exited with error code什么问题
phpmyadmin.conf内的规则写法有问题,把你的phpmyadmin.conf截图贴上来看看。
https://i.loli.net/2018/02/13/5a82ded284755.png
我评论发过去了你看看垃圾箱有没有
include后面的fastcgi_params;和上面的SCRIPT_FILENAME对齐试试看。
自己尝试一下源码编译安装LAMP(都不用LNMP甚至LANMP),就明白面板的好了。
systemctl restart nginx 我重启的时候出现这个问题。我不知道怎么回事,麻烦大佬帮我分析一下,我全按照你的教程做的。
你出现了什么问题?错误信息呢?
在WordPress,无法将上传的文件移动至wp-content/uploads。在网上找了的办法没一个可以的。ps aux|grep php-fpm和ps aux|grep nginx看所有者一个是apache,一个是nginx。用chown -R apache:apache /usr/share/nginx/wordpress改也是上传不了。
我之前测试过,上传是没有问题的。看看你的selinux是否关闭?
Job for nginx.service failed because the control process exited with error code. See “systemctl status nginx.service” and “journalctl -xe” for details.
同样报错
你的nginx规则有错,把规则写对了就能启动。
一切都很顺利,但到了最后安装phpmyadmin的时候出了问题,一样报错
Job for nginx.service failed because the control process exited with error code. See “systemctl status nginx.service” and “journalctl -xe” for details.
也是vi后执行systemctl restart nginx 的时候报错,然后我把这个文件/etc/nginx/conf.d/phpmyadmin.conf删了之后在重启nginx就好了
然后我在vi ,复制你的配置,保存后重启又报错。麻烦帮忙瞧瞧没加”;”还是配置打错了,还是有可能是其他问题。谢谢
http://www.wjl58.club/wp-content/uploads/2018/05/IMG_20180518_003101.png
nginx.service – nginx – high performance web server
Loaded: loaded (/usr/lib/systemd/system/nginx.service; enabled; vendor preset: disabled)
Active: failed (Result: exit-code) since Fri 2018-05-18 10:24:47 UTC; 10s ago
Docs: http://nginx.org/en/docs/
Process: 1284 ExecStart=/usr/sbin/nginx -c /etc/nginx/nginx.conf (code=exited, status=1/FAILURE)
May 18 10:24:47 instance-5 systemd[1]: Starting nginx – high performance web server…
May 18 10:24:47 instance-5 nginx[1284]: nginx: [emerg] bind() to 0.0.0.0:2333 failed (13: Permission denied)
May 18 10:24:47 instance-5 systemd[1]: nginx.service: control process exited, code=exited status=1
May 18 10:24:47 instance-5 systemd[1]: Failed to start nginx – high performance web server.
May 18 10:24:47 instance-5 systemd[1]: Unit nginx.service entered failed state.
May 18 10:24:47 instance-5 systemd[1]: nginx.service failed.
这个应该有点帮助
http://www.wjl58.club/wp-content/uploads/2018/05/1LFNCXHK06LSNF670CS_8.png
其实就是nginx的规则写错了,你直接复制规则然后用vi粘贴到机器内,不要把规则粘贴到txt文本这类工具里面编辑。
您好 我按照你的办法安装好了 ,如何做一个https的呢? 需要修改那些地方,谢谢。
改nginx站点配置文件,参考这篇文章底部里面的nginx配置:https://lala.im/2705.html
504 Gateway Time-out thinkphp5项目部署,出现连接数据库超时问题,这个怎么解决呢
有Nginx日志吗,把日志发上来看看。。没有日志就一个504我也不知道是哪里的问题。。
在使用yum来安装php那一步提示
Error: Package: php72w-cli-7.2.11-1.w7.x86_64 (webtatic)
Requires: libargon2.so.0()(64bit)
Error: Package: php72w-fpm-7.2.11-1.w7.x86_64 (webtatic)
Requires: libargon2.so.0()(64bit)
You could try using –skip-broken to work around the problem
You could try running: rpm -Va –nofiles –nodigest
Error: Package: php72w-cli-7.2.11-1.w7.x86_64 (webtatic)
Requires: libargon2.so.0()(64bit)
Error: Package: php72w-fpm-7.2.11-1.w7.x86_64 (webtatic)
Requires: libargon2.so.0()(64bit)
You could try using –skip-broken to work around the problem
You could try running: rpm -Va –nofiles –nodigest
这是哪里的原因呢?
为什么我的评论会自动重复呢?我没多次复制啊?
错误是Error: Package: php72w-cli-7.2.11-1.w7.x86_64 (webtatic)
Requires: libargon2.so.0()(64bit)
Error: Package: php72w-fpm-7.2.11-1.w7.x86_64 (webtatic)
Requires: libargon2.so.0()(64bit)
You could try using –skip-broken to work around the problem
You could try running: rpm -Va –nofiles –nodigest
明明前面有–> Processing Dependency: libargon2.so.0()(64bit) for package: php72w这样的文字,为什么后面还会报错呢?
尝试yum install libargon2.so.0后提示
No package libargon2.so.0 available.
.so是动态扩展连接库,不能用yum安装的。。。你现在的这个错误,我建议你直接重装系统,CentOS的依赖关系错综复杂,不是一会半会就能说清楚的。。。