
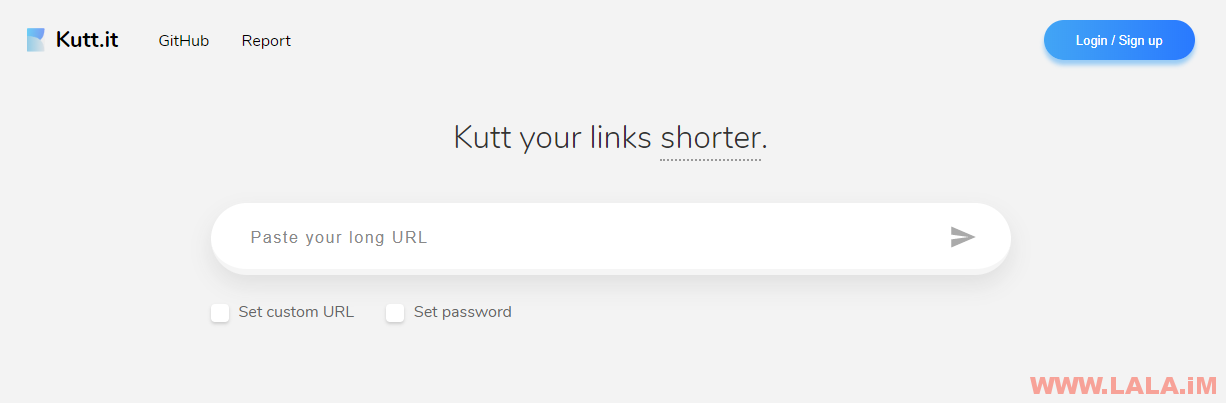
Kutt是一款现代化的免费网址缩短工具,怎么说呢,这个程序其实很优秀,但是不适合国人使用,因为开发者在项目内引用了大量来自Google的服务,像什么Google验证码/Google安全浏览之类的东西,由于这些服务在国内都是被墙的,所以Kutt必须要搭梯子才能正常使用。
Kutt项目地址:https://github.com/thedevs-network/kutt
有兴趣的话,可以部署一个自己的实例玩玩,在开始之前你应该做好下面的准备工作:
1.准备一台VPS安装CentOS7系统
2.准备一个顶级域名并解析到你的VPSIP。
3.注册GoogleCloud账号(以下简称GCP)。
4.在GCP内创建一个项目:https://console.cloud.google.com/projectcreate
5.在你的项目内创建一个凭据:https://console.cloud.google.com/apis/credentials
6.开启Safe Browsing API:https://console.developers.google.com/apis/library/safebrowsing.googleapis.com
7.注册Google验证码服务:https://www.google.com/recaptcha/intro/
做完上面这些工作后,你就可以开始尝试部署Kutt了,首先Kutt使用了一个非常骚气的数据库,名叫:neo4j,我们要先安装一下这个高端大气上档次的数据库~
导入GPG密匙:
cd /tmp
wget http://debian.neo4j.org/neotechnology.gpg.key
rpm --import neotechnology.gpg.key
新建一个源:
vi /etc/yum.repos.d/neo4j.repo
写入:
[neo4j]
name=Neo4j Yum Repo
baseurl=http://yum.neo4j.org/stable
enabled=1
gpgcheck=1
然后就可以用yum安装了:
yum -y install neo4j
接着修改neo4j的配置文件:
vi /etc/neo4j/neo4j.conf
去掉这一行的#号注释:
#dbms.connectors.default_listen_address=0.0.0.0
现在启动neo4j并设置开机自启动:
systemctl start neo4j
systemctl enable neo4j
关闭系统防火墙:
systemctl stop firewalld.service
systemctl disable firewalld.service
关闭SELinux:
vi /etc/selinux/config
SELINUX=disabled
setenforce 0
打开你的浏览器访问http://你的VPS公网IP:7474/browser/,你将可以看到如下图的界面:
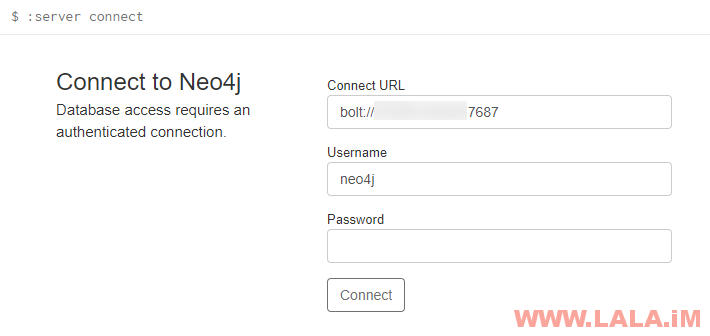
默认的账号密码均是:neo4j
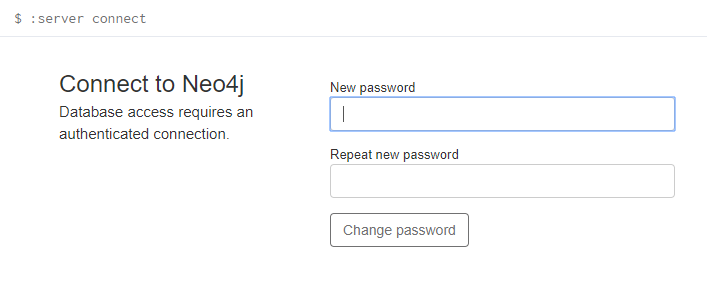
第一次登录进去后你需要强制修改neo4j这个用户的密码:
然后回到终端内,安装Node.js:
curl --silent --location https://rpm.nodesource.com/setup_8.x | sudo bash -
yum -y install nodejs
安装EPEL源:
yum -y install epel-release
安装screen/git/nginx/cerbot:
yum -y install screen
yum -y install git
yum -y install nginx
yum -y install certbot
现在我们可以拉取项目文件了:
cd
git clone https://github.com/thedevs-network/kutt.git
进入到项目目录,复制配置文件:
cd kutt
cp client/config.example.js client/config.js
cp server/config.example.js server/config.js
编辑这两个配置文件:
vi client/config.js
vi server/config.js
首先我们来配置client里面的config.js,在这个文件内,你需要填写的内容有:
1.RECAPTCHA_SITE_KEY,这个KEY是你第7步申请的Google验证码站点KEY。
2.REPORT_EMAIL,填写一个你的邮箱地址。
接下来是server里面的config.js,在这个文件内,你需要填写的内容有:
1.DEFAULT_DOMAIN,你的站点域名,不要带http/www。
2.DB_USERNAME,填写neo4j。
3.DB_PASSWORD,填写你之前修改的密码。
4.JWT_SECRET,随便输入一个高强度的字符串。
5.RECAPTCHA_SECRET_KEY,填写你在第7步注册Google验证码时获取的站点密匙KEY。
6.GOOGLE_SAFE_BROWSING_KEY,填写你在第5步创建的API密匙。
7.如果需要用户注册的功能,你还务必填写下面的邮箱发信配置,因为这款程序注册用户强制用户验证邮件地址:
MAIL_HOST: '',
MAIL_PORT: 587,
MAIL_SECURE: false,
MAIL_USER: '',
MAIL_PASSWORD: '',
确认全部正确无误后,开始安装项目依赖:
npm install
完成之后开始构建:
npm run build
使用screen创建一个持久化的终端:
screen -S kutt
在这个新终端内运行项目:
npm start
Ctrl+A+D键盘组合键切回当前终端,使用certbot申请一个SSL证书:
certbot certonly --standalone -d example.com
接着新建一个Nginx配置文件:
vi /etc/nginx/conf.d/kutt.conf
写入(example.com替换成你们自己的域名):
upstream kutt {
    server 127.0.0.1:3000;
}

server {
    listen       80;
    listen       443 ssl http2;
    server_name  example.com www.example.com;
    if ($server_port !~ 443){
        rewrite ^(/.*)$ https://$host$1 permanent;
    }

    ssl_certificate   /etc/letsencrypt/live/example.com/fullchain.pem;
    ssl_certificate_key    /etc/letsencrypt/live/example.com/privkey.pem;
    ssl_protocols TLSv1 TLSv1.1 TLSv1.2;
    ssl_ciphers ECDHE-RSA-AES128-GCM-SHA256:HIGH:!aNULL:!MD5:!RC4:!DHE;
    ssl_prefer_server_ciphers on;
    ssl_session_cache shared:SSL:10m;
    ssl_session_timeout 10m;
    error_page 497  https://$host$request_uri;

location / {
    proxy_pass       http://kutt;
    proxy_set_header Host      $host;
    proxy_set_header X-Real-IP $remote_addr;
    proxy_set_header Upgrade $http_upgrade;
    proxy_set_header Connection 'upgrade';
    proxy_set_header X-Forwarded-For $proxy_add_x_forwarded_for;
    proxy_http_version 1.1;
    }
}
启动Nginx并设置开机启动:
systemctl start nginx
systemctl enable nginx
现在打开你的站点域名,不出意外应该可以看到这个程序的首页了:
简单测试下功能是否正常:


我是第一哈哈哈
那我是第二,过气博客荒无人烟~
我是来打酱油的- –
研究了一整天了,最后基本没看到错误,可是却给我来了个 502,没看出来nginx有错误啊
> kutt@1.0.0 build /root/kutt
> next build ./client
node[10904]: ../src/node_contextify.cc:628:static void node::contextify::ContextifyScript::New(const v8::FunctionCallbackInfo&): Assertion `args[1]->IsString()’ failed.
1: 0x97cc20 node::Abort() [node]
2: 0x97ccfb [node]
3: 0x9abb92 node::contextify::ContextifyScript::New(v8::FunctionCallbackInfo const&) [node]
4: 0xbe4b1b [node]
5: 0xbe647d v8::internal::Builtin_HandleApiCall(int, v8::internal::Object**, v8::internal::Isolate*) [node]
6: 0x618f2edbe1d
got signal SIGABRT, exiting
npm ERR! code ELIFECYCLE
npm ERR! errno 1
npm ERR! kutt@1.0.0 build: `next build ./client`
npm ERR! Exit status 1
npm ERR!
npm ERR! Failed at the kutt@1.0.0 build script.
npm ERR! This is probably not a problem with npm. There is likely additional logging output above.
npm ERR! A complete log of this run can be found in:
npm ERR! /root/.npm/_logs/2018-11-14T08_10_27_488Z-debug.log
npm run build 构建失败,百度谷歌都木有答案
来看下大佬