
去年介绍过火狐的这个项目:https://lala.im/688.html
今年水篇自建的文章,这个项目没什么坑,部署很简单,准备好一台CentOS7的机器即可~
来来来,EPEL走一走:
yum -y install epel-release
开发工具包也走一走:
yum -y groupinstall "Development Tools"
screen/nginx/redis装一装:
yum -y install screen
yum -y install nginx
yum -y install redis
这里启动redis并设置开机启动:
systemctl start redis
systemctl enable redis
现在把nodejs装一下:
curl --silent --location https://rpm.nodesource.com/setup_8.x | sudo bash -
yum -y install nodejs
OK,可以拉取项目文件了:
git clone https://github.com/mozilla/send.git
cd send
安装依赖:
npm install
构建:
npm run build
使用screen创建一个新的窗口:
screen -S send
在新窗口下运行项目:
npm run prod
键盘组合键Ctrl+A+D切出来,项目就运行在后台了,下面新建一个Nginx配置文件:
vi /etc/nginx/conf.d/send.conf
写入:
server {
    listen       80;
    server_name  koko.cat www.koko.cat;

location / {
    proxy_pass       http://0.0.0.0:1443;
    proxy_set_header Host      $host;
    proxy_set_header X-Real-IP $remote_addr;
    proxy_set_header X-Forwarded-For $proxy_add_x_forwarded_for;
    }
}
然后启动Nginx:
systemctl start nginx
为了方便,你可以直接关闭防火墙:
systemctl stop firewalld.service
不想关闭防火墙,下面的命令走一走:
firewall-cmd --permanent --add-port=1443/tcp
firewall-cmd --permanent --add-port=1443/udp
firewall-cmd --permanent --add-port=80/tcp
firewall-cmd --permanent --add-port=80/udp
firewall-cmd --reload
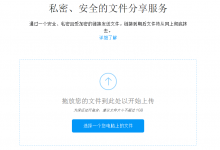
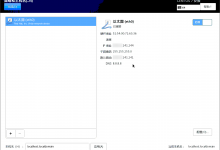
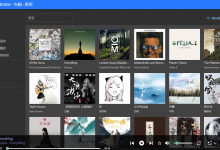
现在打开你的浏览器访问你的站点域名,应该可以看到这个程序的UI了:

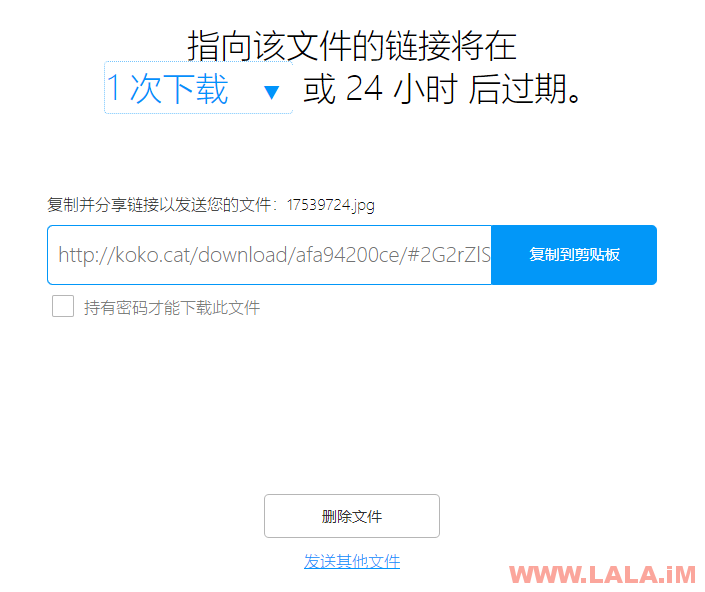
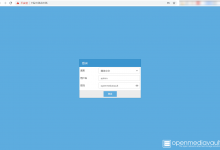
测试一下,文件可以正常上传:
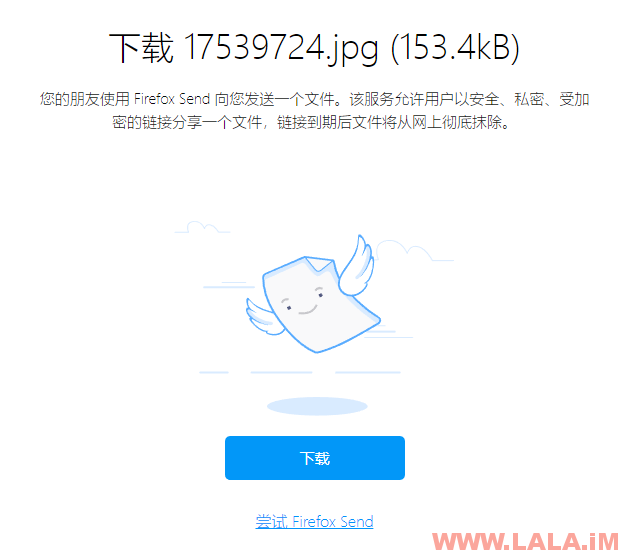
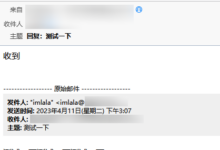
也可以正常下载:
祝大家骚的开心!


求求博主别老开车了,研究研究技术把。 我也没办法o(╯□╰)o
色字头上一把刀啊,当然您要是不听我的
我服了,这里也有戒色吧老哥?竟然还专门弄了个戒色博客。。。
卧槽,我以为他开玩笑呢,真tm是个戒色老哥。
戒色又不可耻…我的意思是节制..我不是贴吧的神经病一样的~
老哥所言极是,万事都要节制,量力而行,以后我尽量不在这里勾起老哥的欲望。。
博主的姿势好多啊
我怀疑必定在秋名山飙过车
80哪里域名也改了,域名访问只是 nginx 页面。
你的nginx主配置文件有没有引用conf.d目录下的文件啊。。看你描述应该是nginx配置文件根本没生效。
hi 请问这个是安装在站点根目录下吗?还是要新建一个单独的VPS
随便放哪个目录用nginx反向代理就行了。